
Welcome! This template is designed to help you prepare the content you'll need for creating your course on Xperiencify!
Go through this article step by step, and assemble each piece of information so it's easy to access and ready for upload.
General School Info You'll Need
- School / Business Logo (square or landscape shape is preferred)
- School / Business Tagline or Slogan (1 sentence.)
- Site Icon (Recommended size: 32px X 32px)
Course Info Setup Basics
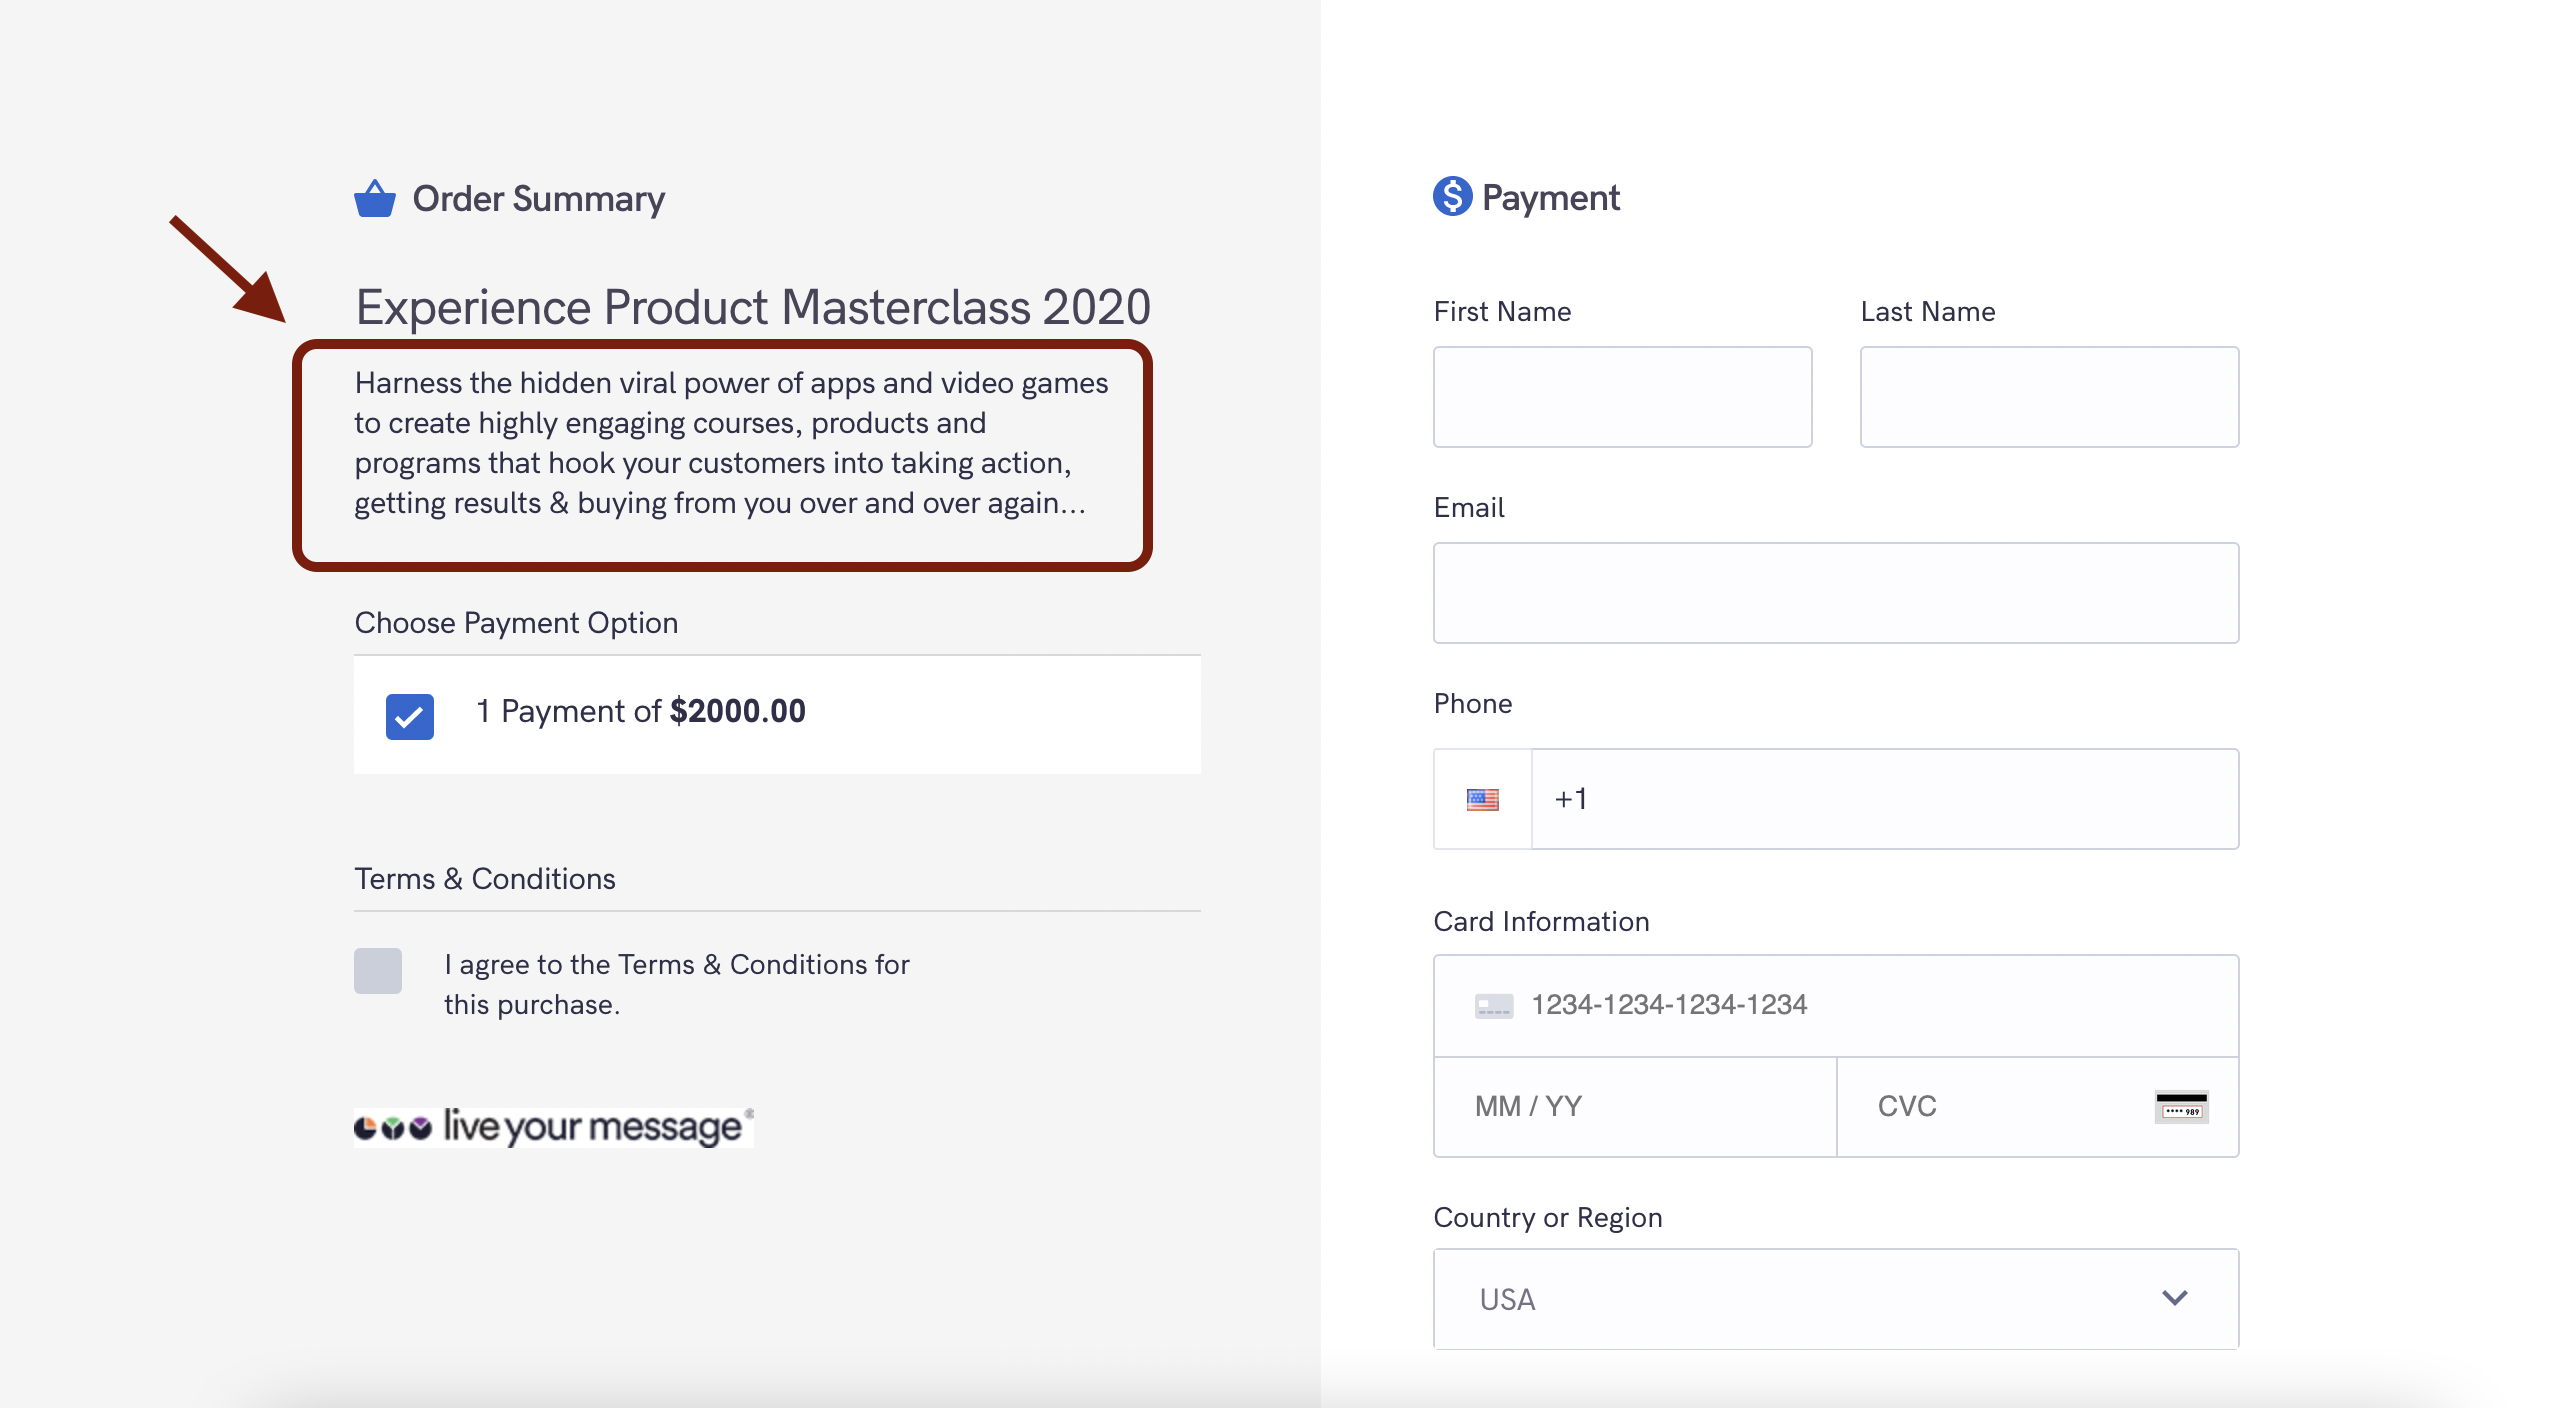
- Course name
- Course short description (1-2 sentences maximum. Keep it exciting and benefit-focused.)
- Course Image (Recommended size: 640px X 360px is a good size)
- Course price (And do you want a payment plan?)
- Course terms & conditions page URL (or you can have your terms & conditions on a doc, to be copied and pasted into the order form).
- Course blurb for the course checkout page (This can be longer than the main course description above.)
High Level Course Information
- Mission statement (Feel free to use this format and fill in the blank at the end - "Your mission, should you choose to accept it, is to …")
- Course Intro video (Highly recommended! If you don't have one, a welcome image is OK too.)
- Course Goals (What are the 3 biggest outcomes a student will have when they do the work? Create a minimum goal, a target goal, and a "stretch" goal)
- Pre-Actions (These are small & quick "setup" tasks you can assign points to that get students into action, FAST! Here's our best-practice advice for choosing & setting them up)
The Content of your Course
For every module you create, you'll need the following information...
- Module Name
- Module image (Optional. We will automatically give every training action a fun, random illustration for you. Or you can upload your own. Recommended size: 640px X 360px. Best Practice: image only, no text. You'll have space to add a text description for the Module.)
- Module short description (Recommended length: 1 sentence)
- Module bonus points! (You can give students a fun, surprise bonus point gift when they complete any module. This can be powerful when done seemingly randomly! Decide whether you want to do this.)
For each training in your course, you'll need the following information....
- Training name
- Training image (Optional. We will automatically give every training action a fun, random illustration for you. Or you can upload your own. Recommended size: 640px X 360px. Best Practice: image only, no text. You'll have space to add a text description for the Training.)
- Training short description (Recommended length: 1 sentence)
- Training notes (Optional notes or context information for the student)
- Training resources (Templates, resources, transcripts, etc. You can attach files to the training! Here's more info on how to use and upload resources.)
- Training actions (What are the 2-4 action steps you want to include under each training? Here are our best-practice recommendations for what to do.)
- Training action images (Optional. We will automatically give every training action a fun, random illustration for you. Or you can upload your own.)
- Training release style (Do you want to release the training immediately the student joins the course? Or make it available at some future time? Most common options are drip-based release and date-based release. More info here.)
Choose Your Student Celebrations
What are celebrations and why have them?
NOTE: We have dozens of amazing, pre-created celebrations waiting for you in the Celebration Builder Gallery!
- Student welcome celebration (Shows the 1st time a student lands in the membership site. Think of it like a surprise party just for them that they weren't expecting!)
- Completed 1st training celebration (A great opportunity to celebrate them for getting their 1st training completed.)
- Completed 1st module celebration (A great opportunity to celebrate them for completing the first module.)
- Completed the HARDEST training celebration (A great opportunity to celebrate them for getting through the hardest or most challenging part of your entire course)
- Random "easter egg" celebration (Just to remind them how awesome you think they are -- this is a wonderful "pattern interrupt" surprise and is incredibly engaging for the student. You can have more than one of these if you want.)
- Course completion celebration (The final celebration when they complete all of the course content.)
Choose Your Student Experiences
First, what are Experiences? You can think of them like automations that run in the background, watching what your students are doing and responding... with the goal of increasing the engagement and action from each and every student. You can find more info here.
NOTE: We have dozens of amazing, pre-created Experiences waiting for you in the Experience Engine -- they're called "Playbooks". [160|More info on that here.})
- Student welcome experience (Any emails, text messages or voicemails you want to send. More info here.)
- Email for each training released (Any emails, text messages or voicemails you want to send when each training is released. More info here.)
- Student rescue experience (Unique to XP, we have pre-created playbooks you can use which will automatically get in touch with students who haven't logged in for a certain amount of time and "rescue" them. In other words, bring them back. Here's more info on how we do that.)
- Earned XPs experience (Any emails, text messages or voicemails you want to send when the student reaches a certain level of points in your course. [161More info here.])
- Course completion experience (Any emails, text messages or voicemails you want to send when the student completes the last training in the course. More info here.
Some Questions to Consider
- Will you use Stripe as your payment processor? Or your own, standalone processor? The benefit of Stripe is that you can use the built-in Xperiencify order form, which will redirect your paying customers DIRECTLY into your course membership site, and not make them wait for a confirmation email containing their login/access info. (Using Stripe and XP's Order Form is also the simplest option for you as the course creator).
- Do you need to integrate with any outside systems? For example: you may want to connect your CRM, shopping carts, or other apps- to do that, you'll need to set up a Zapier.com account to connect XP with that system.
- Do you want 2-Way SMS? This allows you to receive, and respond to replies that students send to text messages sent through XP. We rent numbers for $99/year). More info here.
- Do you want to use a Custom domain? This allows you to host your courses at your own domain name. For eg: YourAmazingSchool.com. You'll need a Growth account for this, and your own domain name at $8/year. We recommend Namecheap.com to purchase this. You'll also need to do some setup in your domain registrar. More info here.)
- Do you want to send email from your Custom domain? This allows you to send email officially through the domain above. It's a great way to ensure maximum deliverability for your emails. You'll need to do some setup at your domain registrar. More info here.
NOTE: While we provide you with plenty of options, we always recommend keeping things simple when you're getting started. You can always add integrations later, or change things when you outgrow your current setup.
Most important thing is to get your course launched, and start bringing in sales!