
Getting started
You can customize the style, look & feel of your navigation stuff using CSS. We've included some examples on this page. But first, here's how to get access to the CSS area:
To get started:
- Open any course and open the Course Settings section
- Open the CSS sub-section
- Set the Enable Custom CSS For This Course toggle to ON (green)
- You should then see the CSS field appear. Add your CSS code to that box alongside any other code you may have already added to it.
Feel free to customize & change the examples below, remove what you don't need, or add in any new rules you want.
Customize the font & style used in all navigation
Access the CSS area using the instructions above, and then use the following code:
.custom-navigation-item {
font-family: arial;
font-size: 17px;
background: lightyellow !important;
color:red !important;
}

Customize the Color of the Search Icon in the Navigation Bar
Access the CSS area using the instructions above, and then use the following code:
[id^=navigation] > svg { color:#C717FF !important; }

Customize the Color of the Magnifying Glass Icon in the Search Field
Access the CSS area using the instructions above, and then use the following code:
[id^=navigation] > svg { color:#C717FF !important; }

Create a sidebar navigation instead of a top navigation
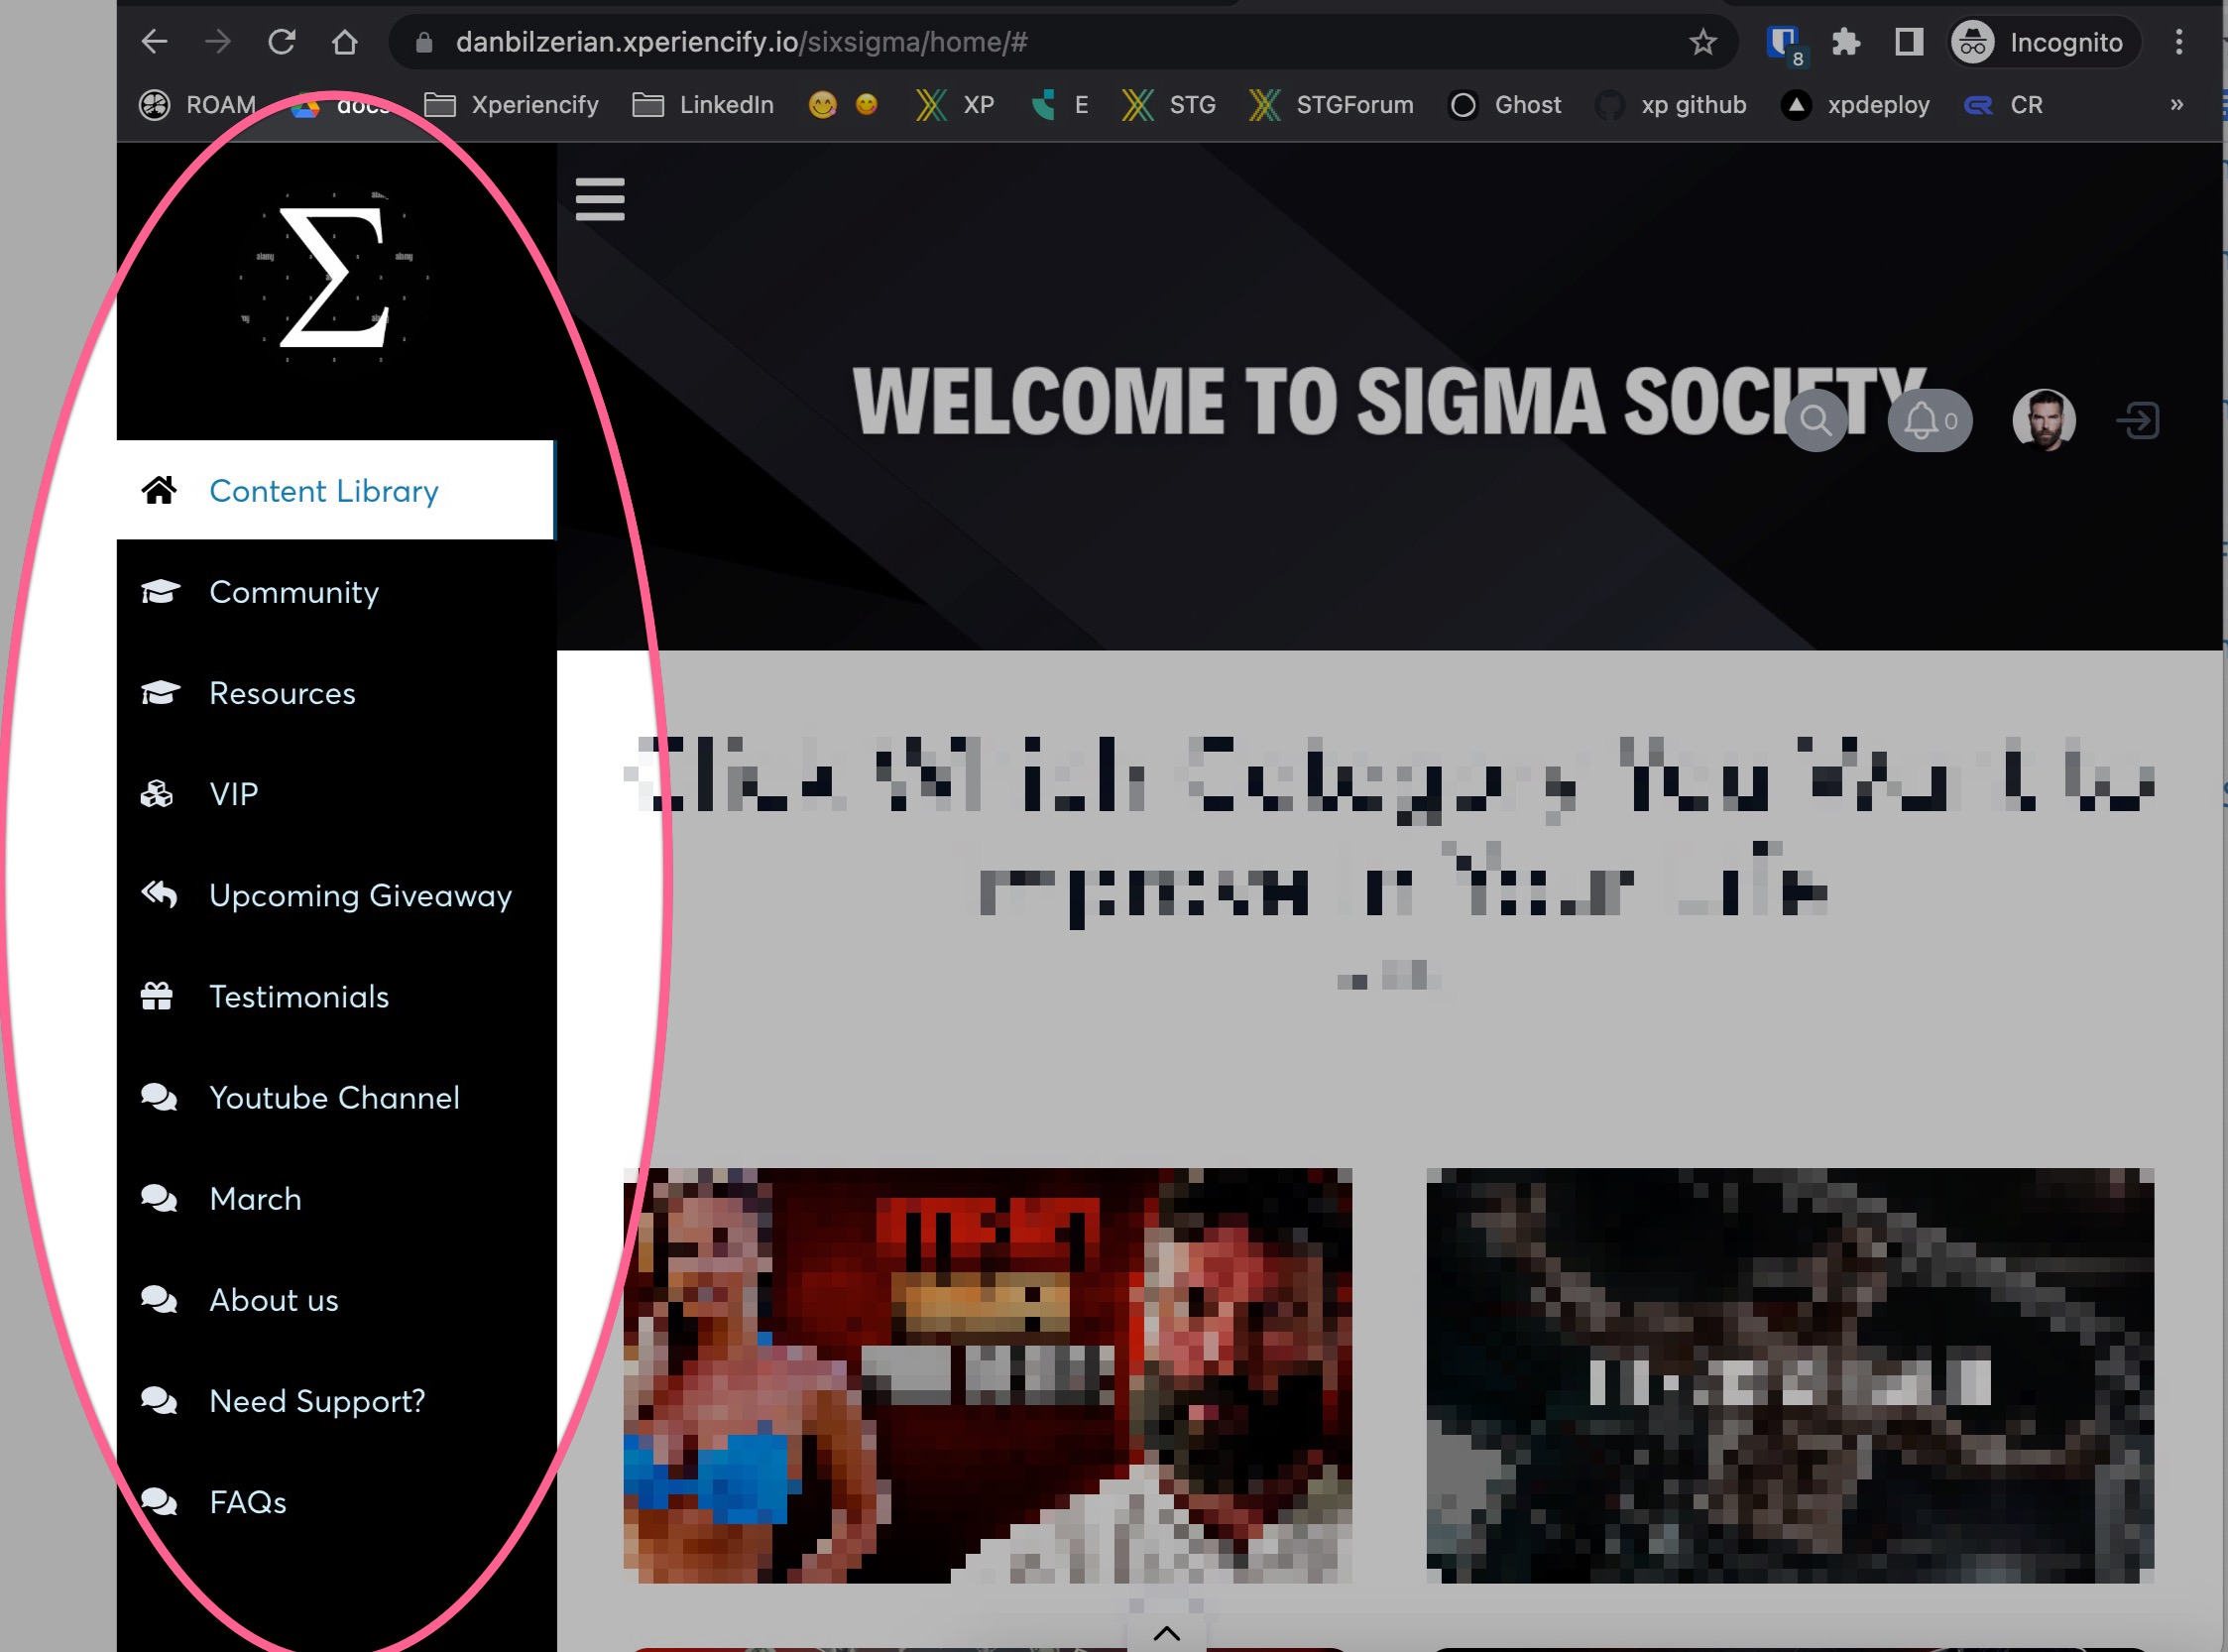
To do this, you'll need to add it into a HTML/JS block onto every page where you want the sidebar to show, like this:
Next, copy & paste the following code into the HTML block.