
Important Update
Facebook has announced that API access to Groups will be ending in April 2024, which unfortunately means that our Post to Facebook feature will be going away.
This is a sudden and unwelcome move and it not only affects the creators on Xperiencify who are depending on this feature to help keep students motivated, but the entire industry of software makers who use this feature also.
What is the Post to Facebook Feature?
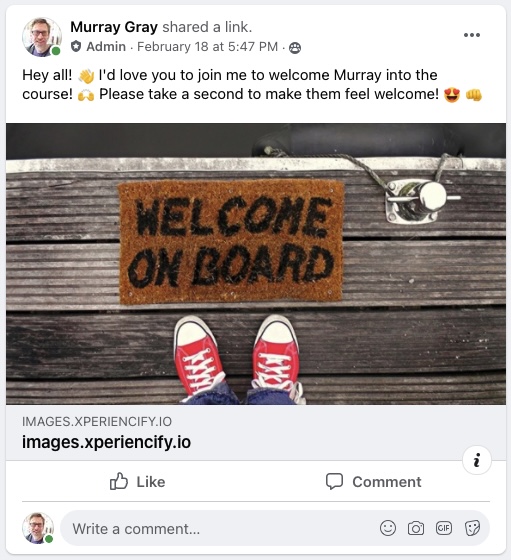
Using the Experience Engine, you can now make automated posts to any Facebook group! This is super-useful to publicly congratulate, recognize or shout-out to any student who achieves something awesome in your course!
Examples for how to use it:
- Welcome students to your course
- Congratulate them for completing something hard...
- For hitting a goal
- For earning a significant amount of XPs, or
- For completing the course
The only limit to what you can do is your own imagination!
Real world examples:
- "Amazing news! Congrats to Sally who just hit Goal X. So so proud of what you've achieved. Can't wait to see what's next for you!!"
- "Just saw that Mark joined us in Start With You! Pleased you're with us!"
- "Wow - we just got word that Sally hit the minimum goal in 60-Second Sales and made her first sale! CONGRATS Sally!"
Using this feature has 3 huge benefits for you:
- Your student feels amazing because they've been recognized by the creator of the course for doing something awesome, they get likes and comments from the community, and they end up taking even more action, which will lead to even more success!
- As more and more members have "visible" success on the group, your community will get more & more fired up, and take more action as a result, which feeds the "success cycle", leading to more success for everyone!
- You end up with so many more successful students who become customers for life, along with sweet testimonials that you can use in your sales & marketing!
You can add as many variants as you want for a specific post, so you posts look and feel more customized and personalized each time. (Each post can have its own custom and completely different message and image.)
Let's dive in!
Setting Up the Post to Facbeook Feature
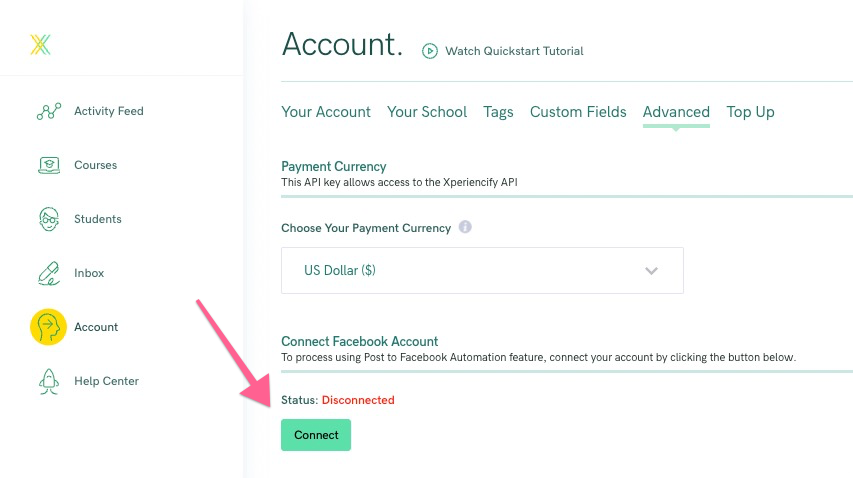
- Go to your Account area, click on Advanced, look for the Connect Facebook Account section and click on the Connect button to begin the process of connecting your Facebook account.
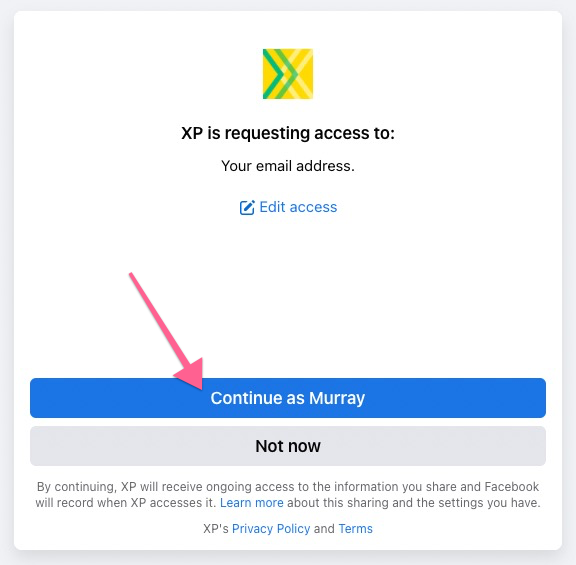
- A popup will appear — click on the Continue as {Your Name} button to continue the process.
(IMPORTANT NOTE: this is giving our app permission to post into a Facebook group on behalf of YOU personally. All posts will show YOUR personal name. There's no way to alter this behavior. So if you're setting this course up on behalf of a client and their name should appear instead of yours, then THEY will have to complete this step of authorizing with Facebook.)
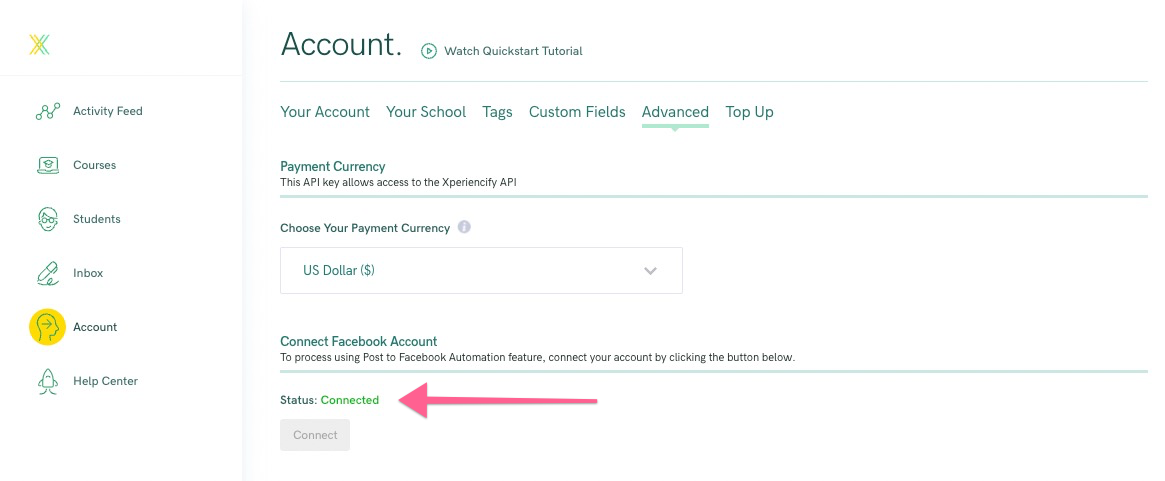
- The popup window will automatically close and you'll be able to see the green "Connected" message here:
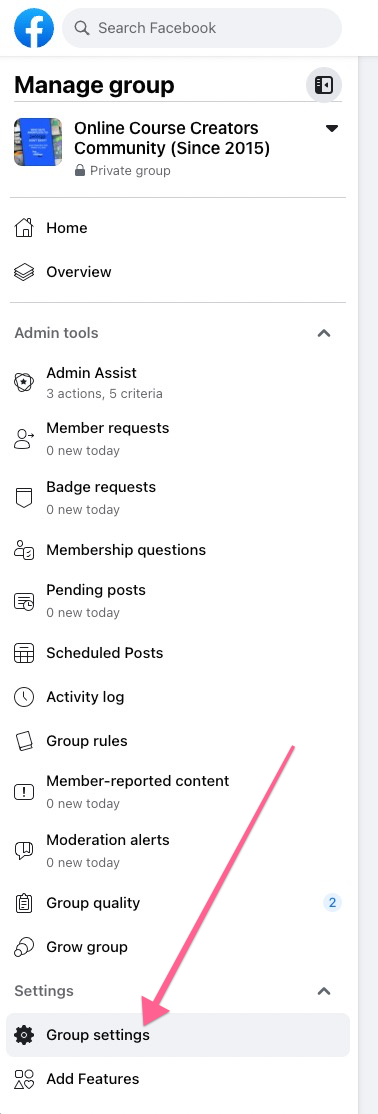
- Next, add the XP app to your Facebook group. (Note: this should be a group that you own or have administrative access to!) Once you're inside your group, if you have admin access, you'll see the Group settings item in there, inside the Settings group. Click on that.
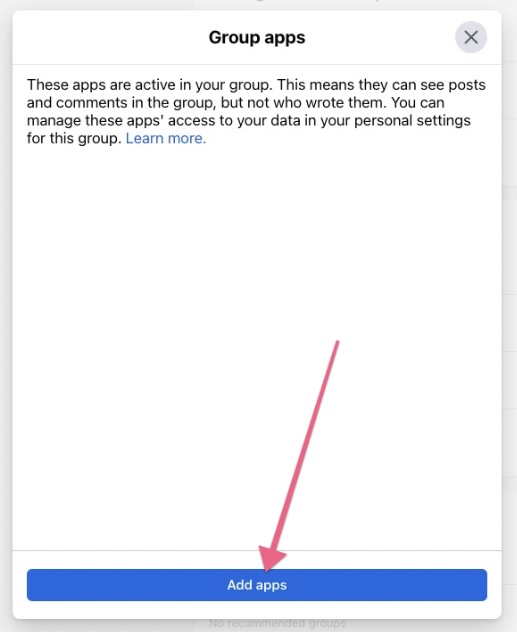
- Once that loads, scroll to the bottom of the page and you'll see an Apps item. Click on the pencil icon.

- You'll see a popup, click on the Add apps button:
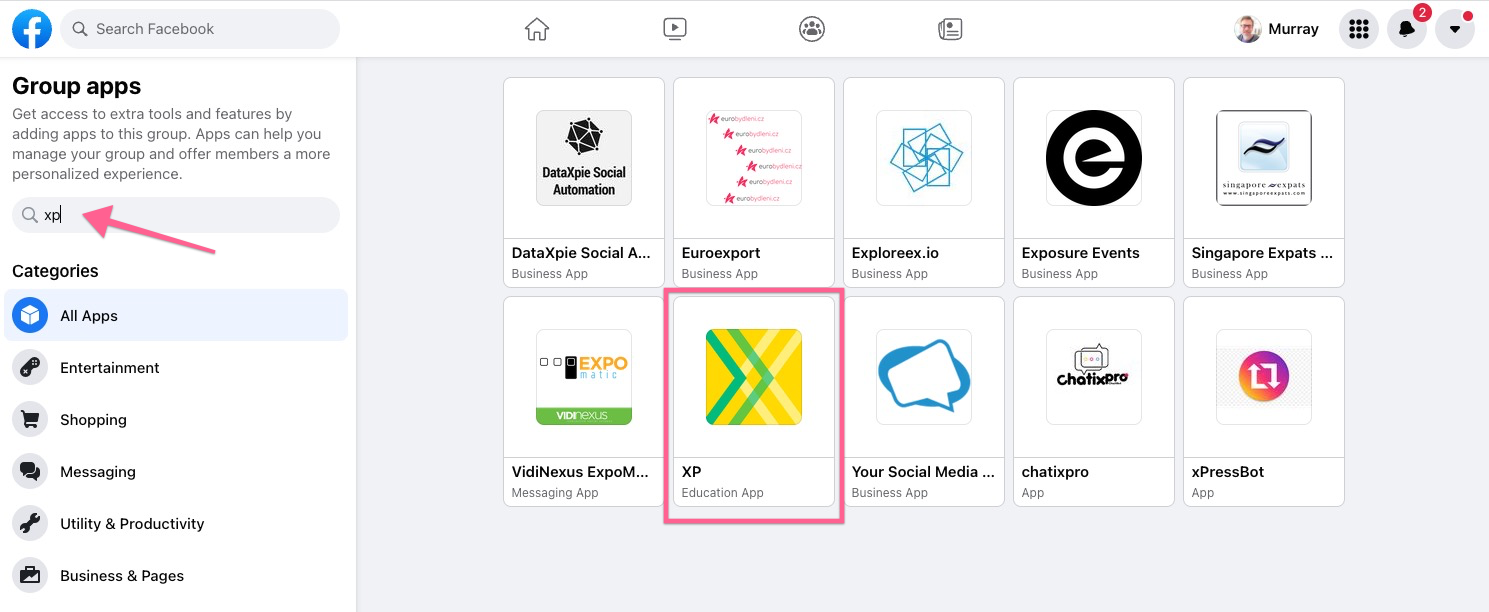
- Type "XP" into the search box, press Enter and click on our app to install it into your group:
- Click on the Add button to proceed:
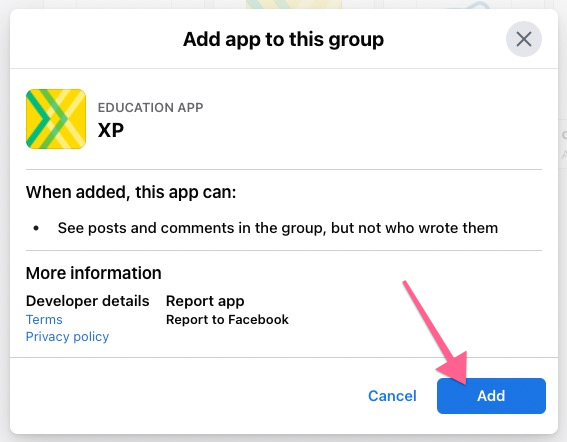
- NOTE: There may be an additional step of Facebook asking for permission to authorize the XP app in the group. Once you've approved this, you'll be good to go.
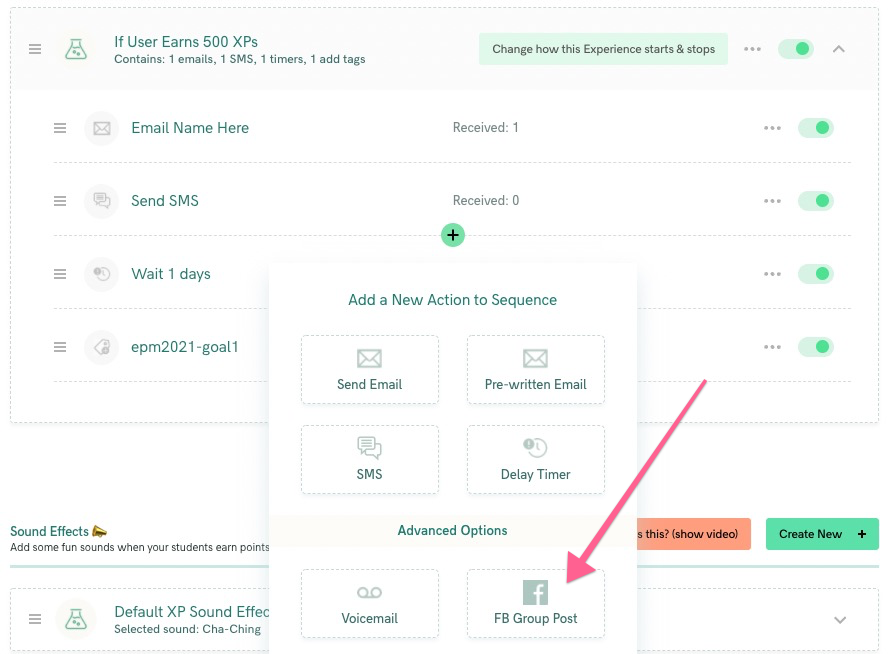
- Finally, edit your course in XP, go to Step 5 "Secret Sauce", locate the Experience where you want to make your Facebook post from, and add in a FB Group Post action like this:
- Choose the same group from the droplist that you previous installed the app into:

- Enter the text of your Facebook Group message and remember to create multiple variations of each (as many as you like) so not all messages are the same. (We'll cycle through them one by one.) Also, remember to use the available student tokens, by clicking the forward slash button on your keyboard and then choosing the Tokens menu option.