
Customizing the Countdown Timer
First, read about how to customize a core page on your site, or how to create a custom page.
Why Include a Countdown in your Course?
According to the American Psychological Association, a full 20% of the population are chronic procrastinators who put off decisions and tasks in all areas of their life.
That's why we've built urgency-building features like custom countdowns into Xperiencify -- to encourage students to take action and consume your content within the timeframe of your program.
We've proven that adding a countdown timer to your Course will help powerfully motivate students to take the action they need to take.
When you add one, you'll be amazed at how much more will get done, and we always include a countdown in our in-house membership sites so the student always know much time is left in the course they purchased.
IMPORTANT: When the countdown hits zero, they don't lose access to the course. The countdown simply gets hidden.
Here's an example of what a countdown looks like:

The 2 Kinds of Countdowns
If you choose to use a countdown in your Course, we have 2 types: "Evergreen" and "Live".
- "Evergreen" -- if you have a course students are able to join at any time. In cases like this, you may want to give your students a fixed amount of time to complete your course, and it should start counting down from the moment they join.
- "Live" - when you want to count down to one specific, common point in the future for all students. This works well if you have a cohort of students joining at the same time, or around the same time
- NOTE: The moment that a student "joins" means the moment that they are added to your Xperiencify course - regardless of whether they join through the XP Order form, by being manually added, or by being added through Zapier
How to Customize the Countdown Timer
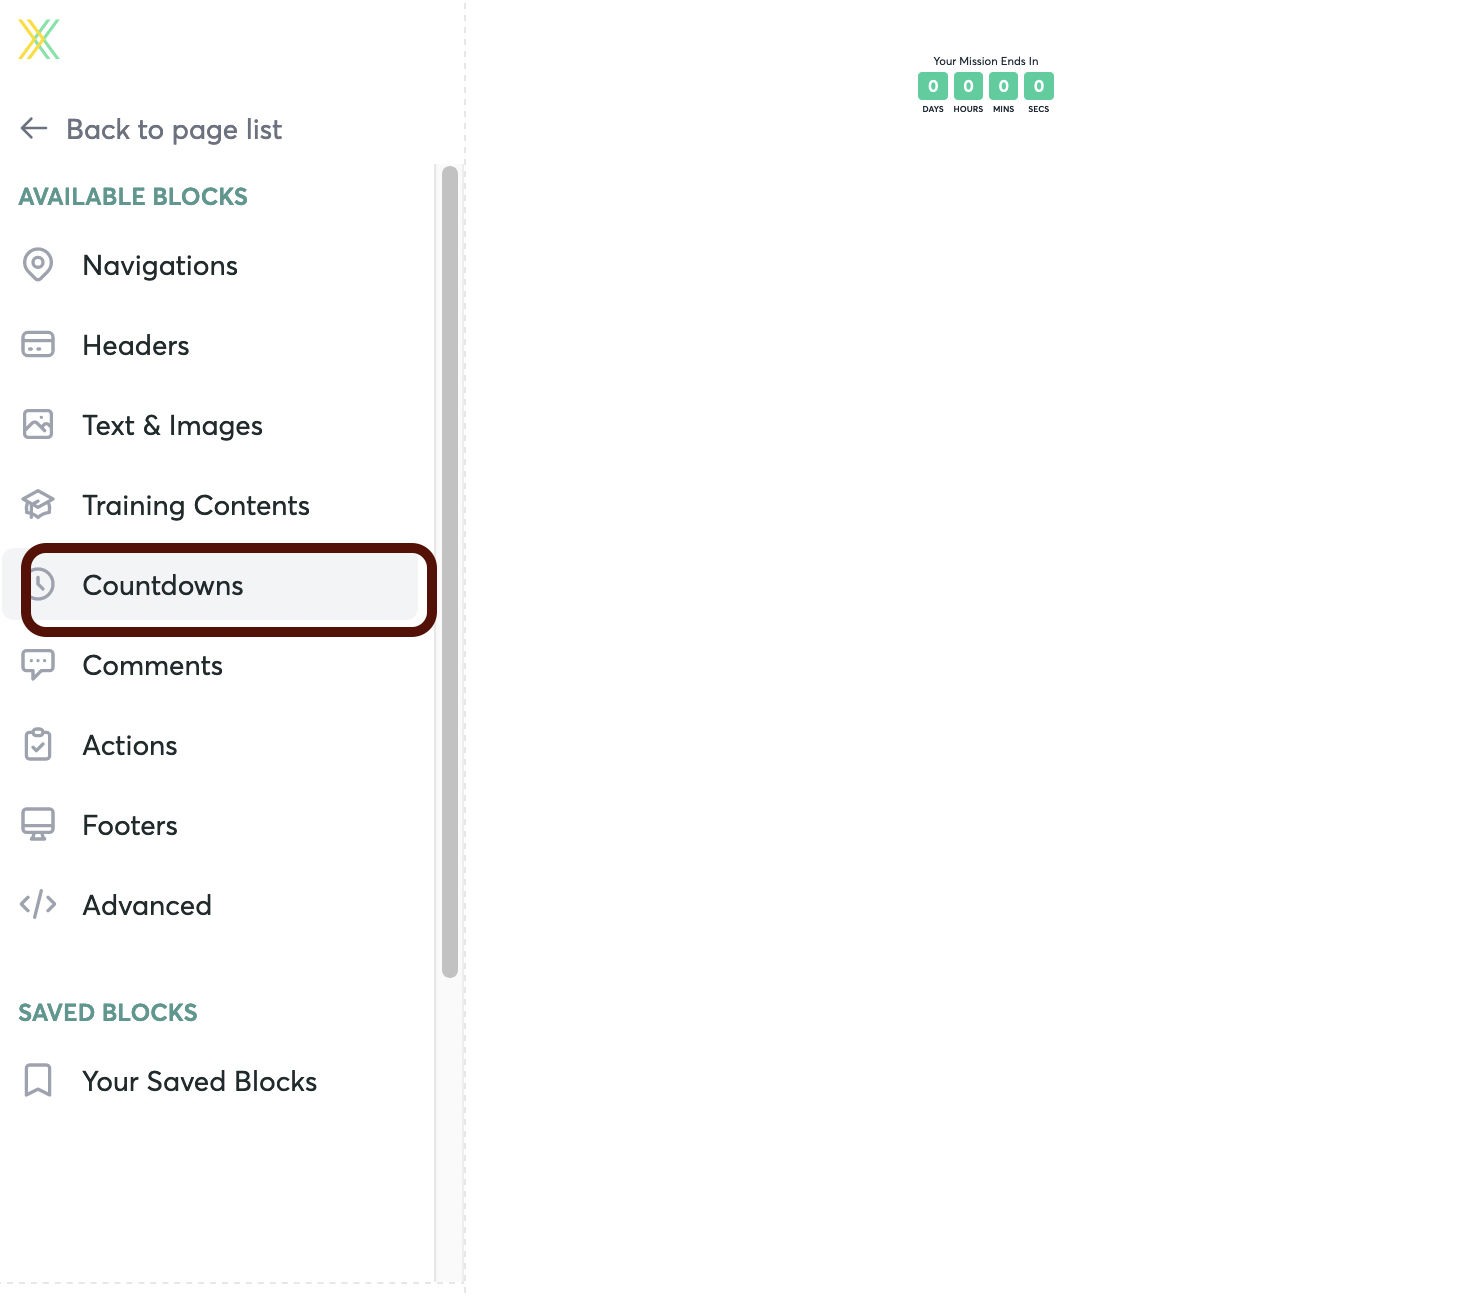
From the page that you're customizing -- in the left-hand sidebar, find the "Countdowns"
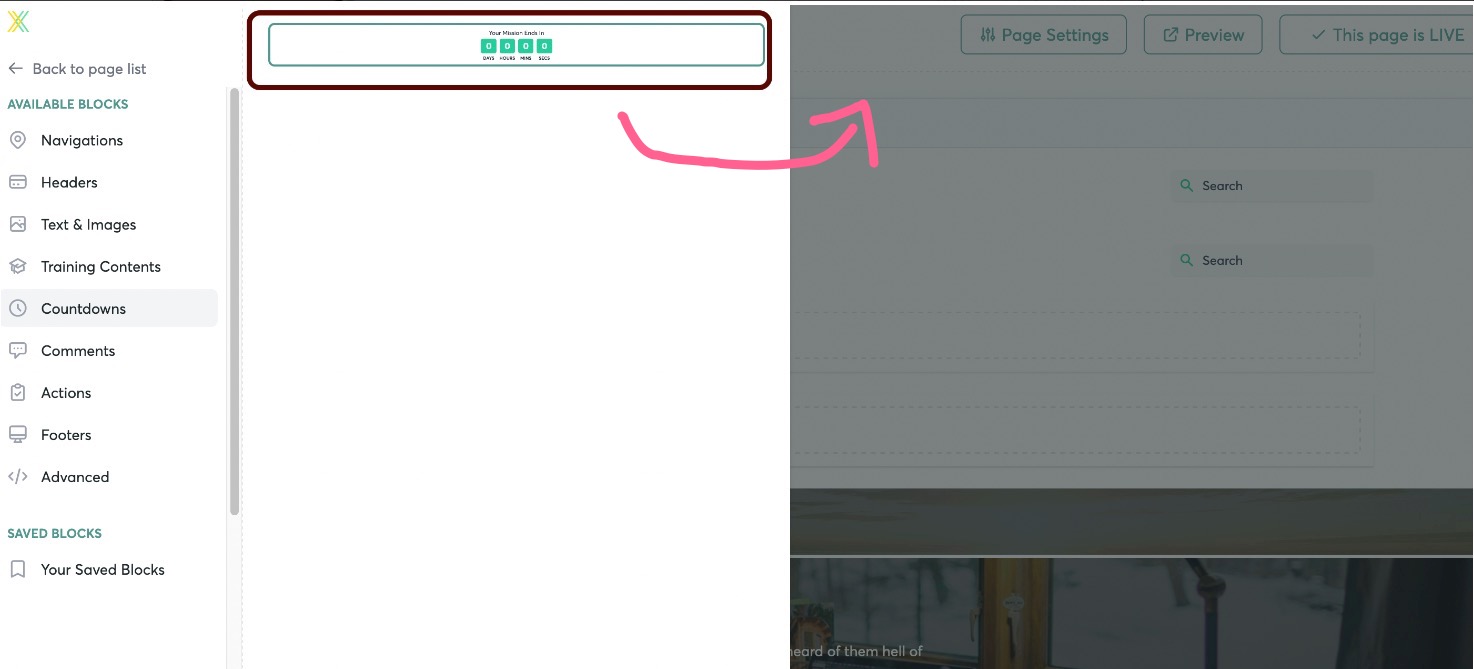
Click on the Countdown Timer, and drag it to the right to drop it onto your page.
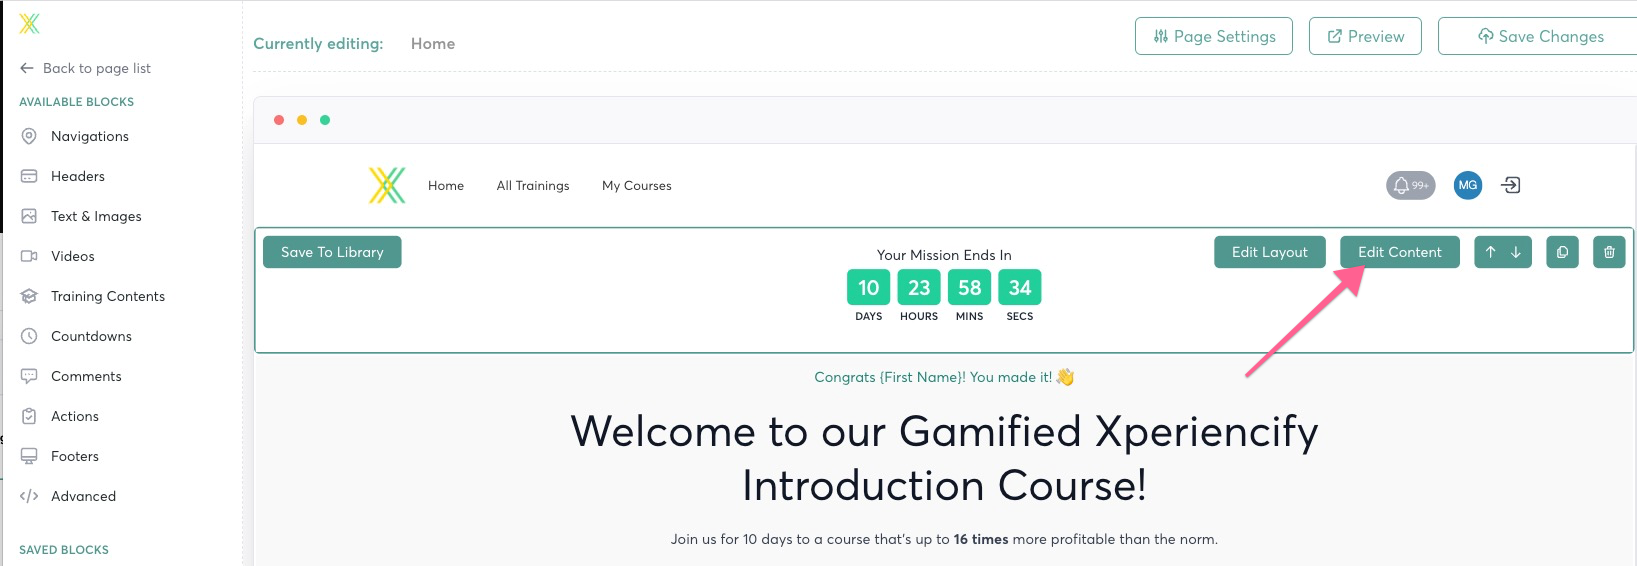
Hover over the Block, and click on "Edit Content" to open the Editor window.
Click on Column 1, and then click Countdown. Inside, you'll find all the settings for the countdown widget.
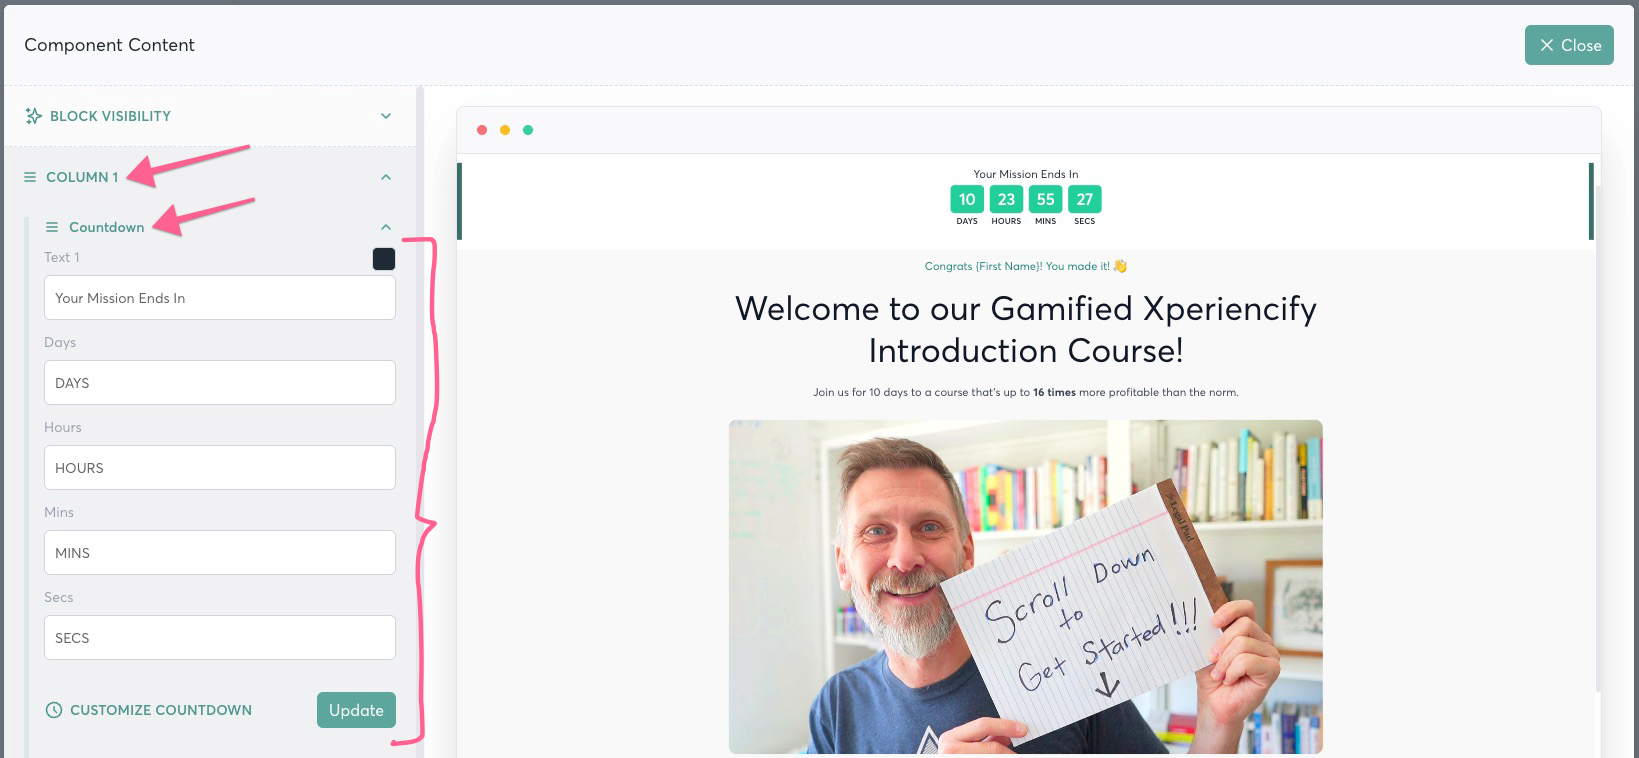
To update the countdown timer date/time settings, click on the Update button
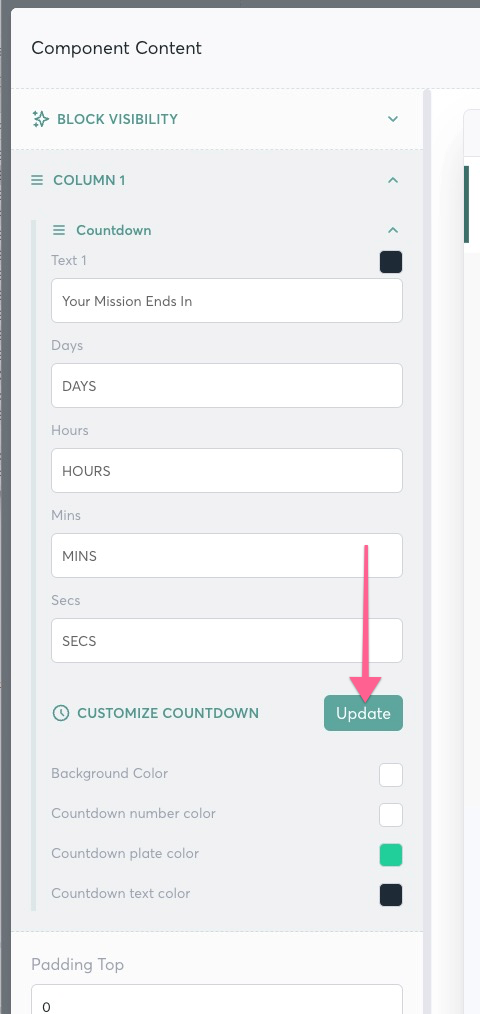
When you click that button, you'll see some options:
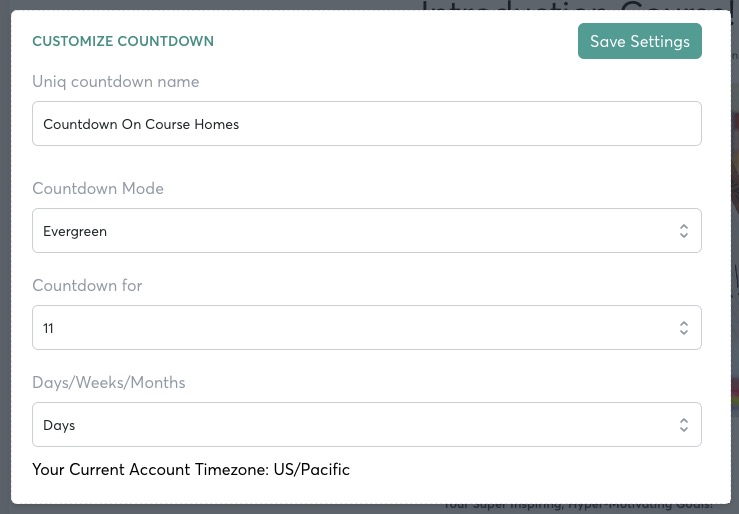
- "Uniq countdown name" is an identifying string for this countdown on this page. Make sure you name this countdown clearly in case you want to use it inside the Experience Engine, our powerful automations engine for your course and students
- Countdown mode: your options are "Evergreen" or "Live". "Evergreen" allows you to countdown for a relative amount of time based on when a student joins your course, say – 10 days. "Live" mode allows you to countdown to a specific date & time in the future – and all students will see the same ending date & time.