
Creating Custom Pages with Page Builder
In addition to customizing existing pages in your membership site, the Page Builder now allows you to create your own custom pages!
To get started, go to Step 4 of your Membership Site, "Customize Your Course Pages" and click on the button to "Customize Your Course Page Layouts."

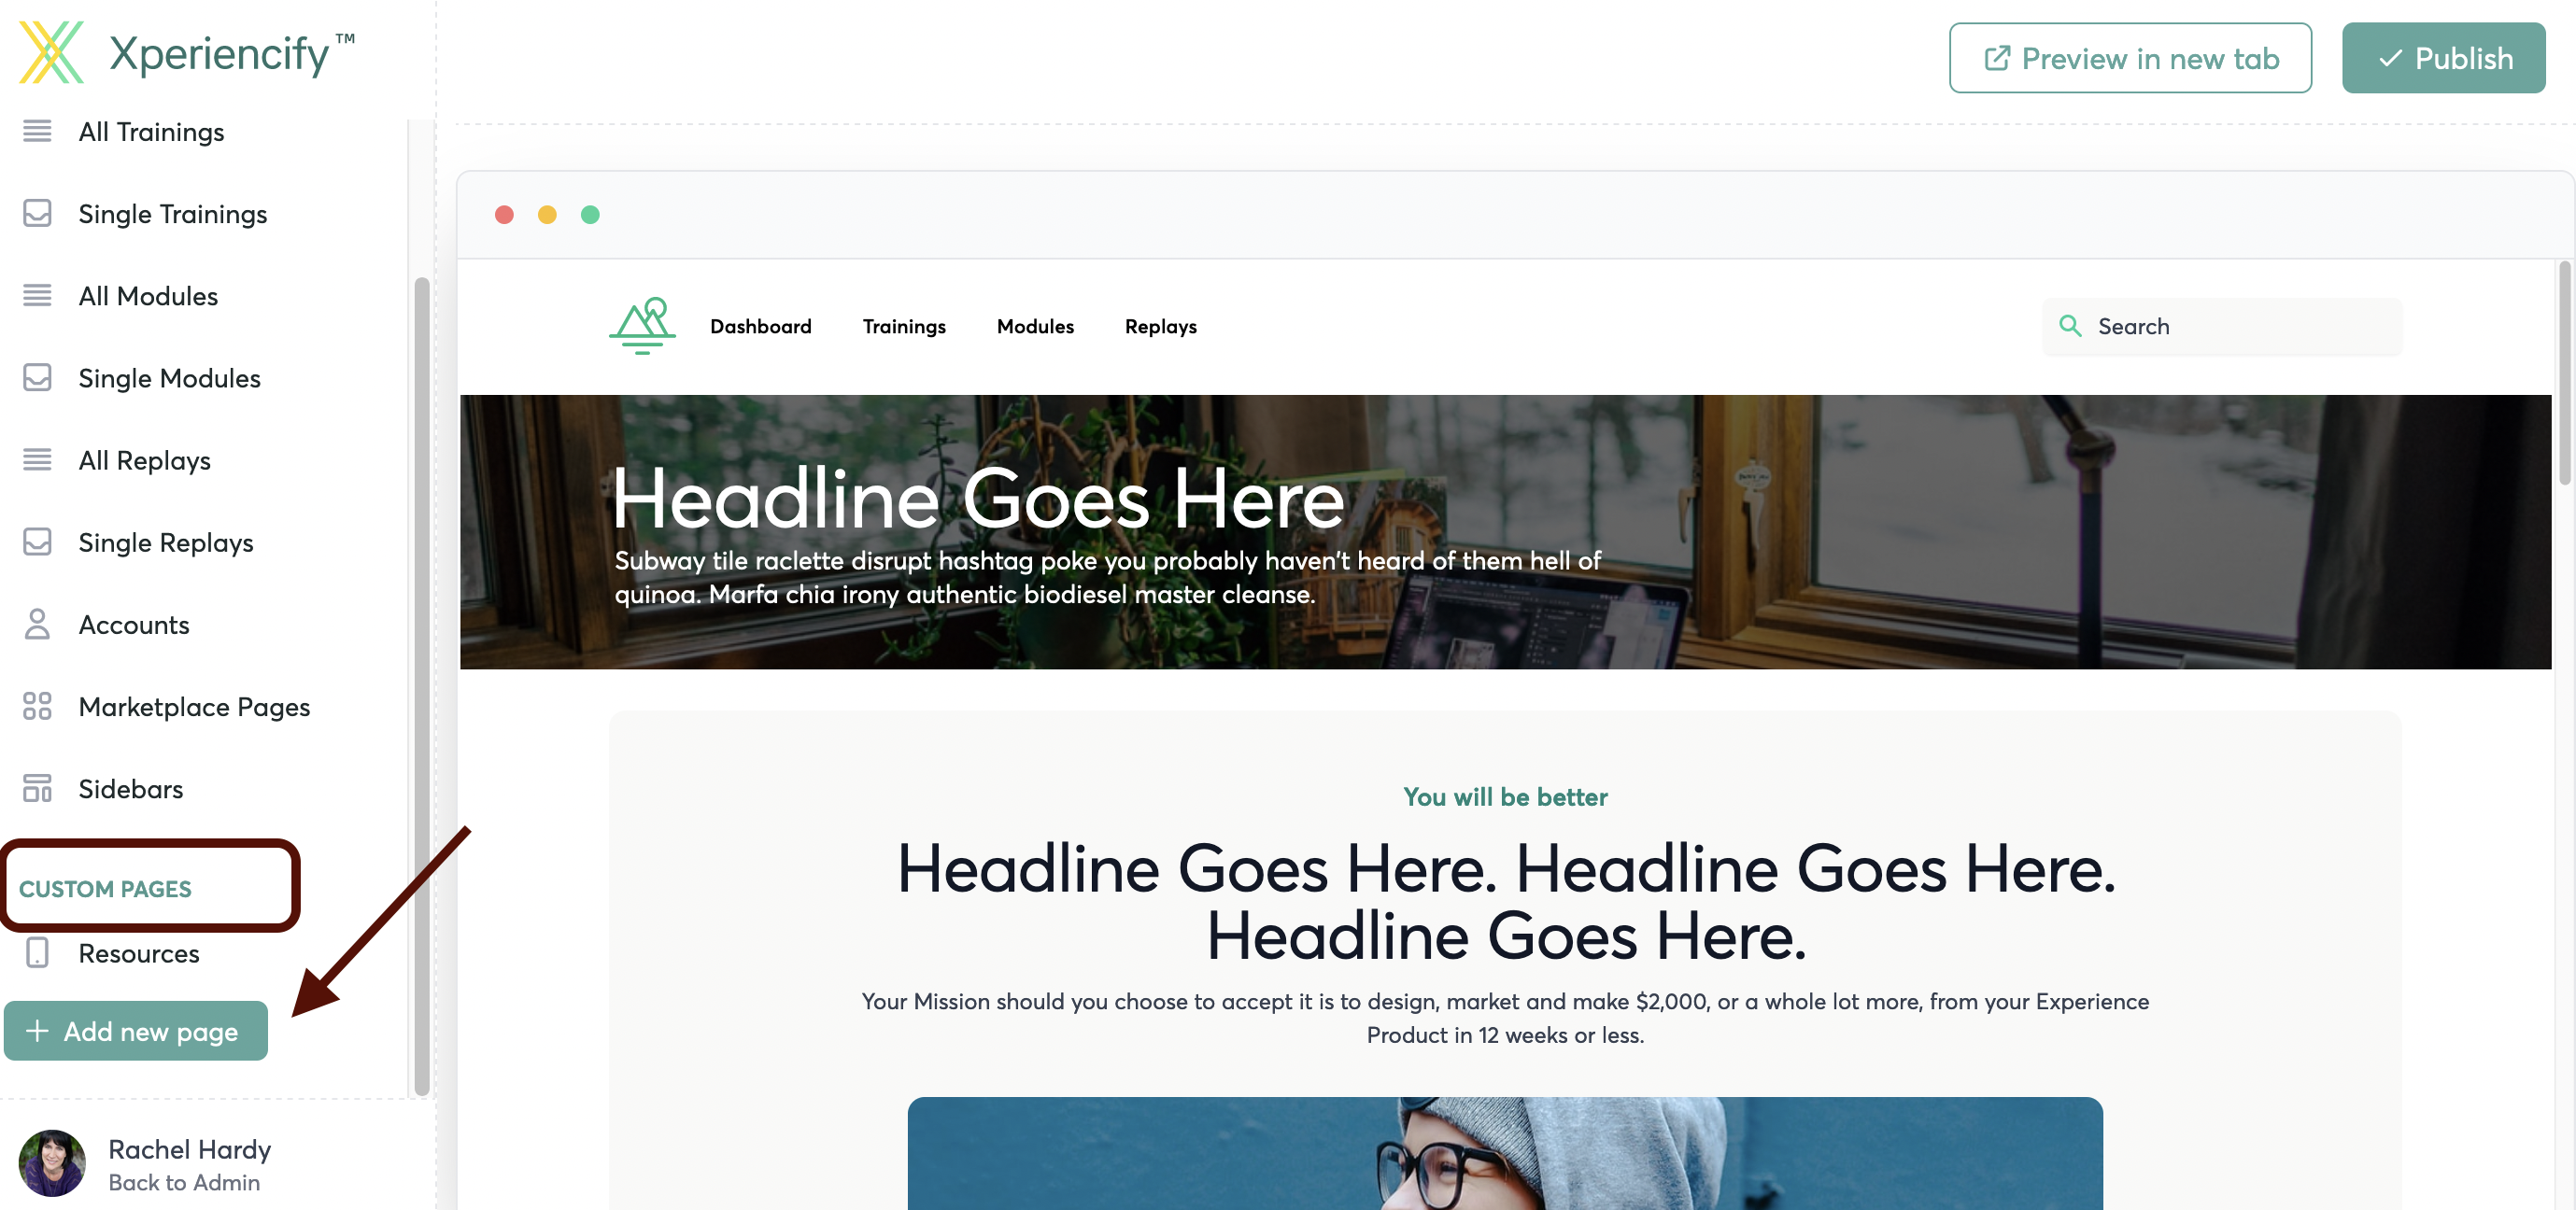
You'll see your Page Builder area, which looks like this:

On the left hand sidebar, scroll down to the bottom to "Custom Pages" and click on "Add New Page"
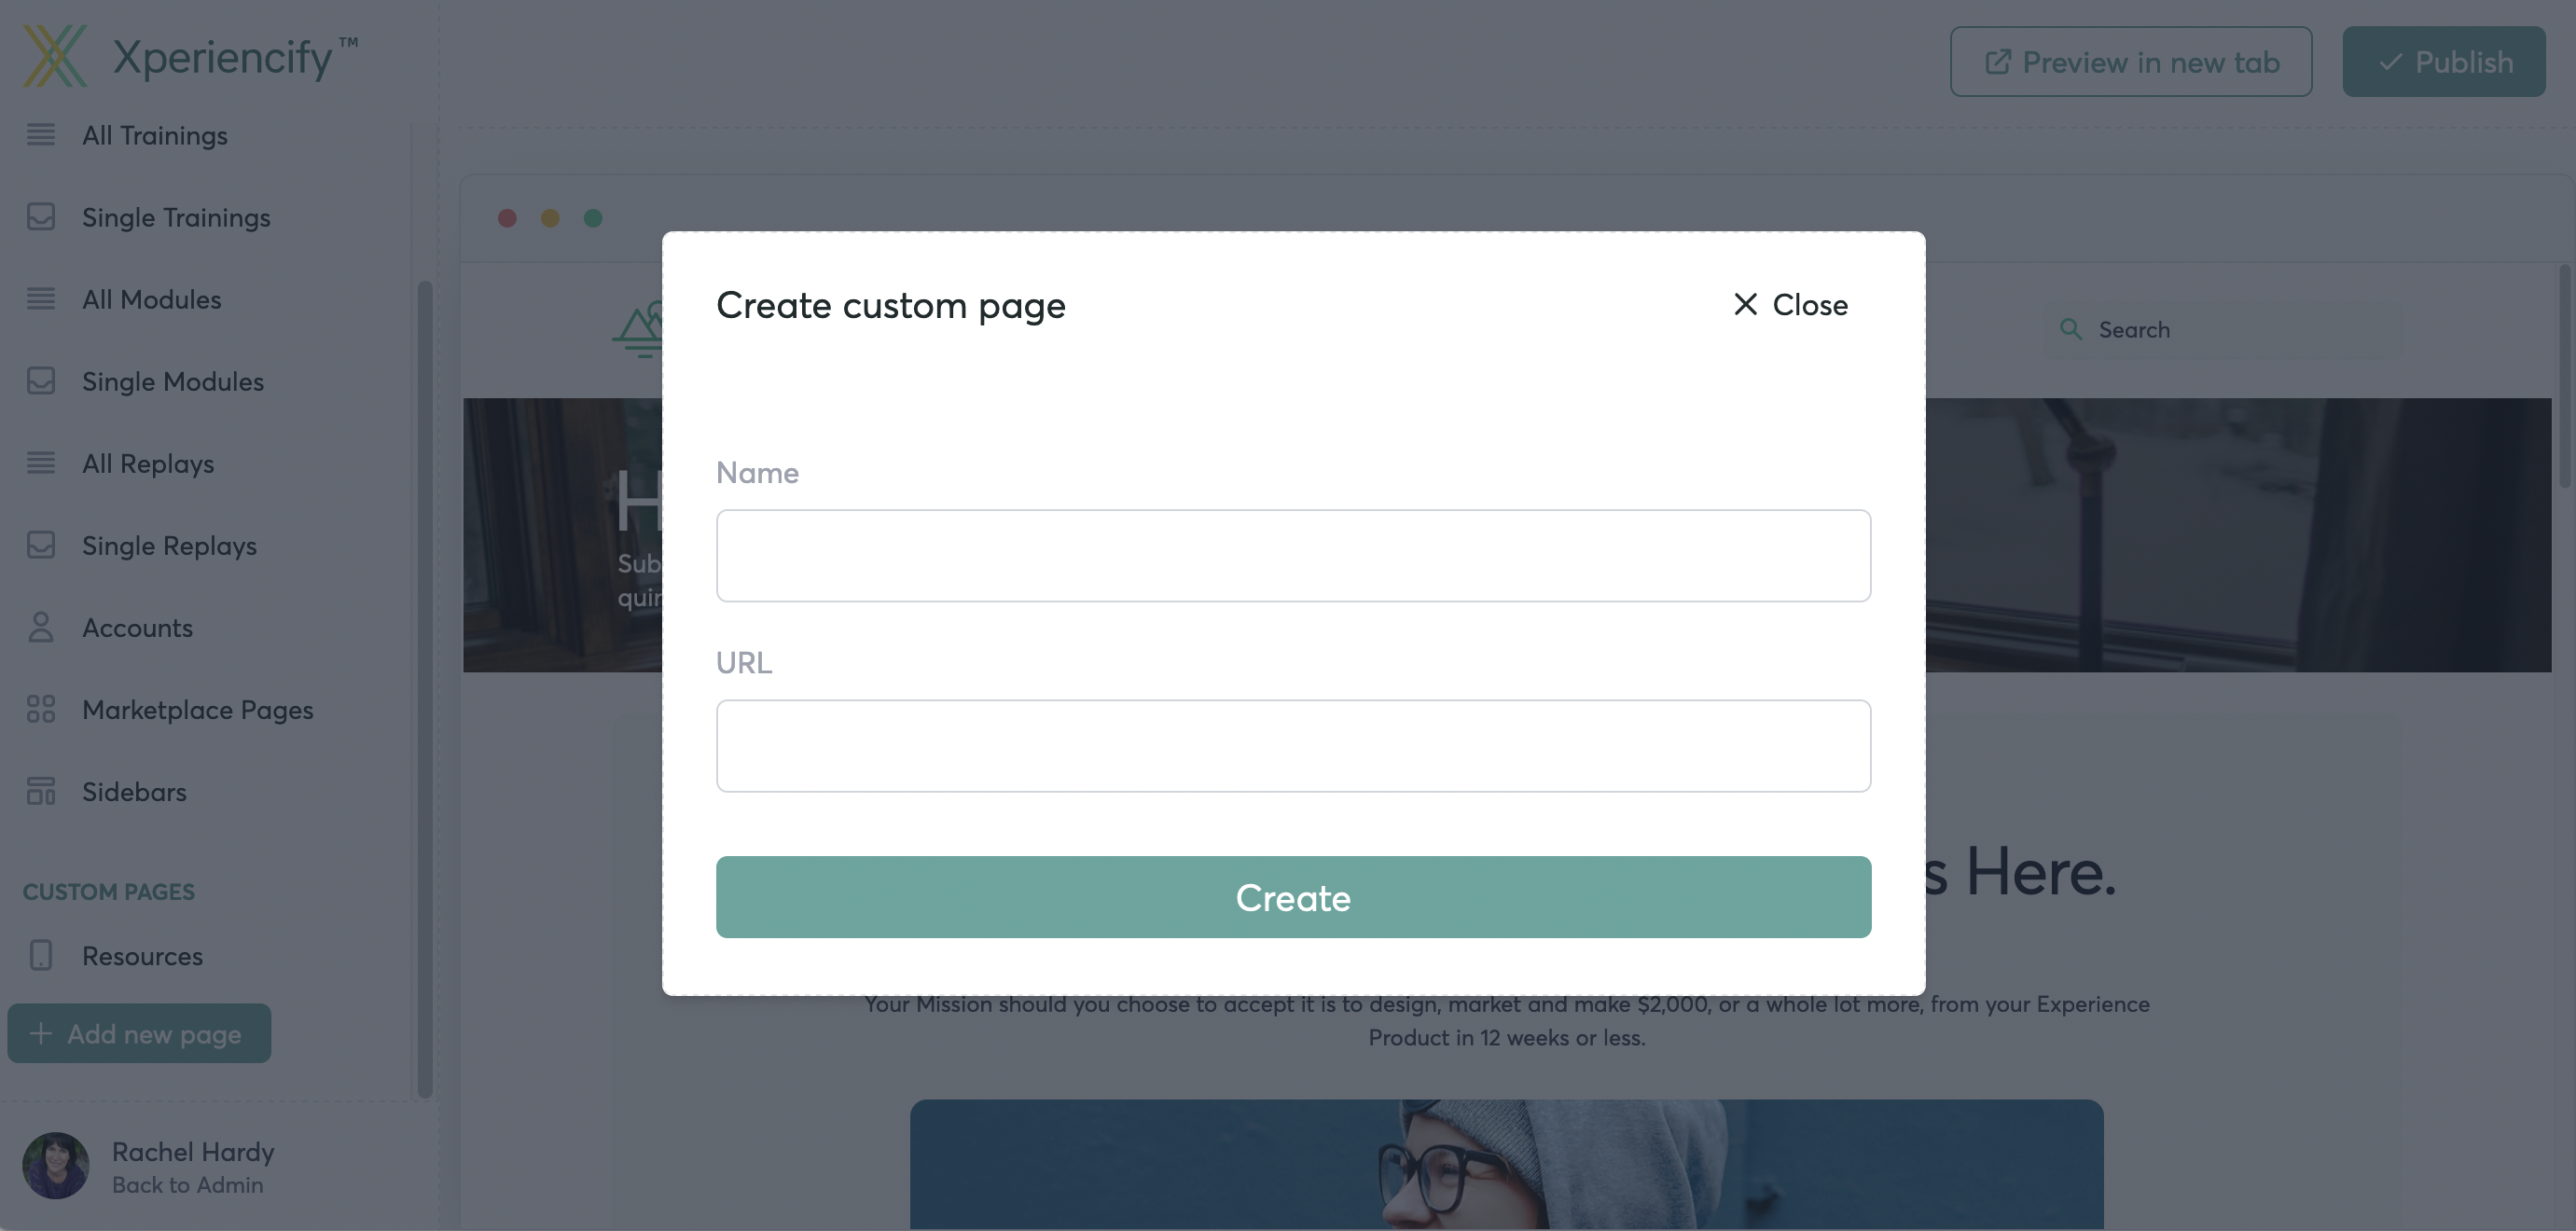
Create a title for your page. (The URL will automatically be added).
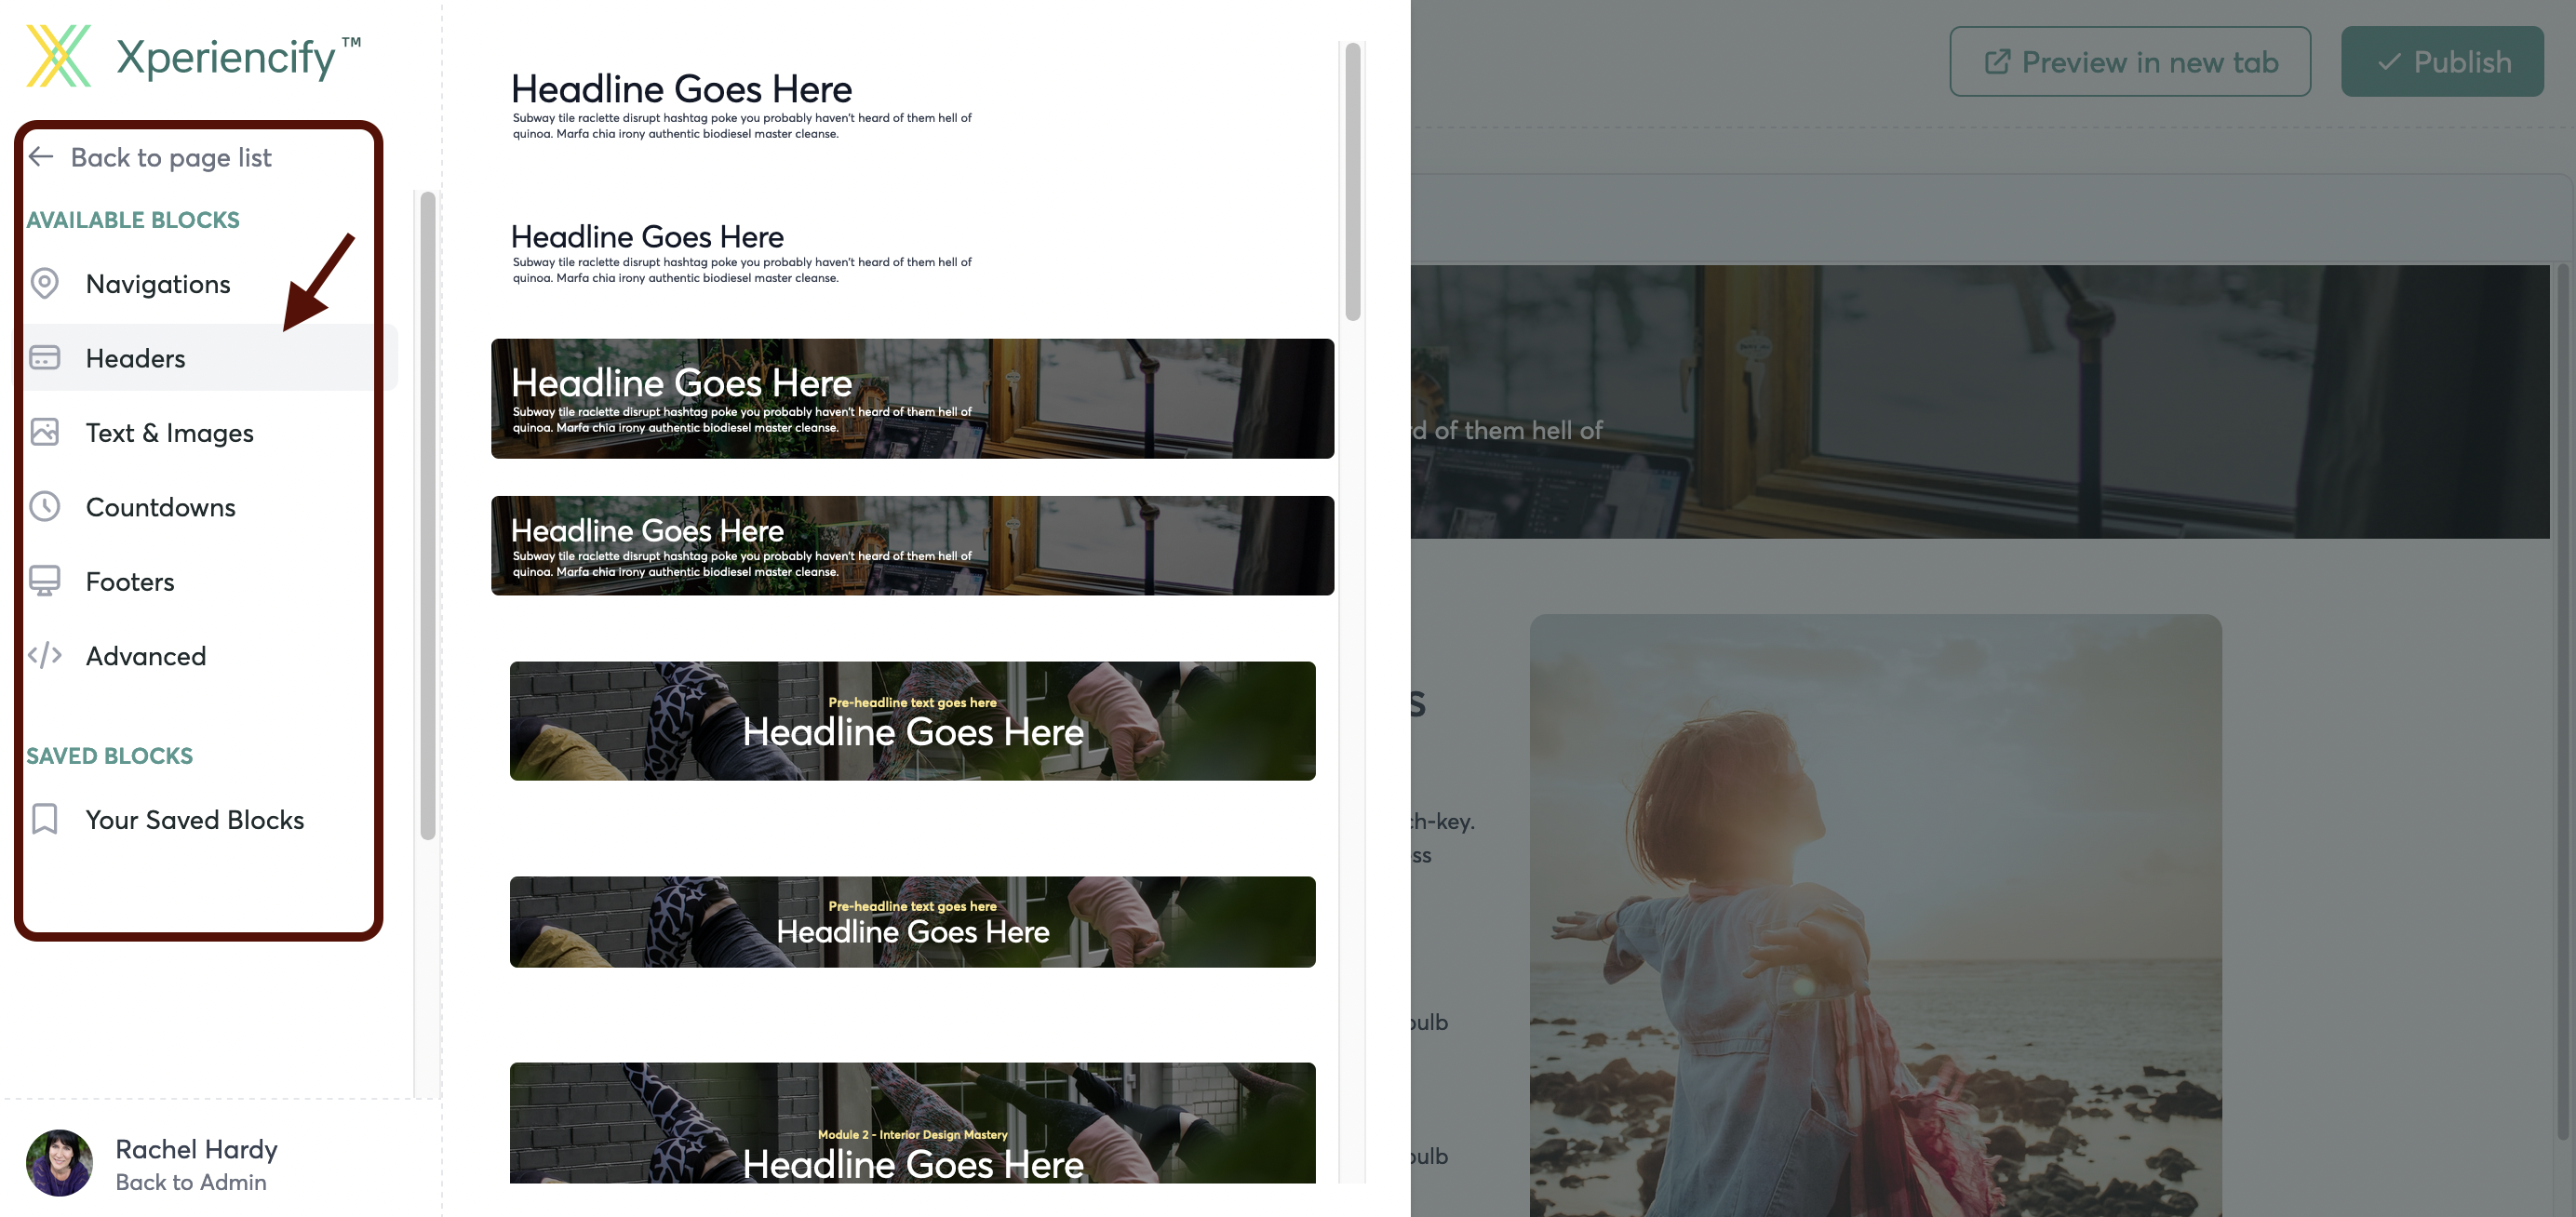
From the "Available Blocks" on the left hand sidebar, select an option and drag a block over to the right to drop it onto your page.
For example, to select a Header for your custom page, you'll click on "Headers".
Click on the block of your choice and drag it to the right to drop it into your page
How to Create a Global Custom Page
You may want to create a global custom page that students from ANY course can view. Here's how you would do that:
Or you can just turn this toggle on to make the page visible to the world (and therefore all students):
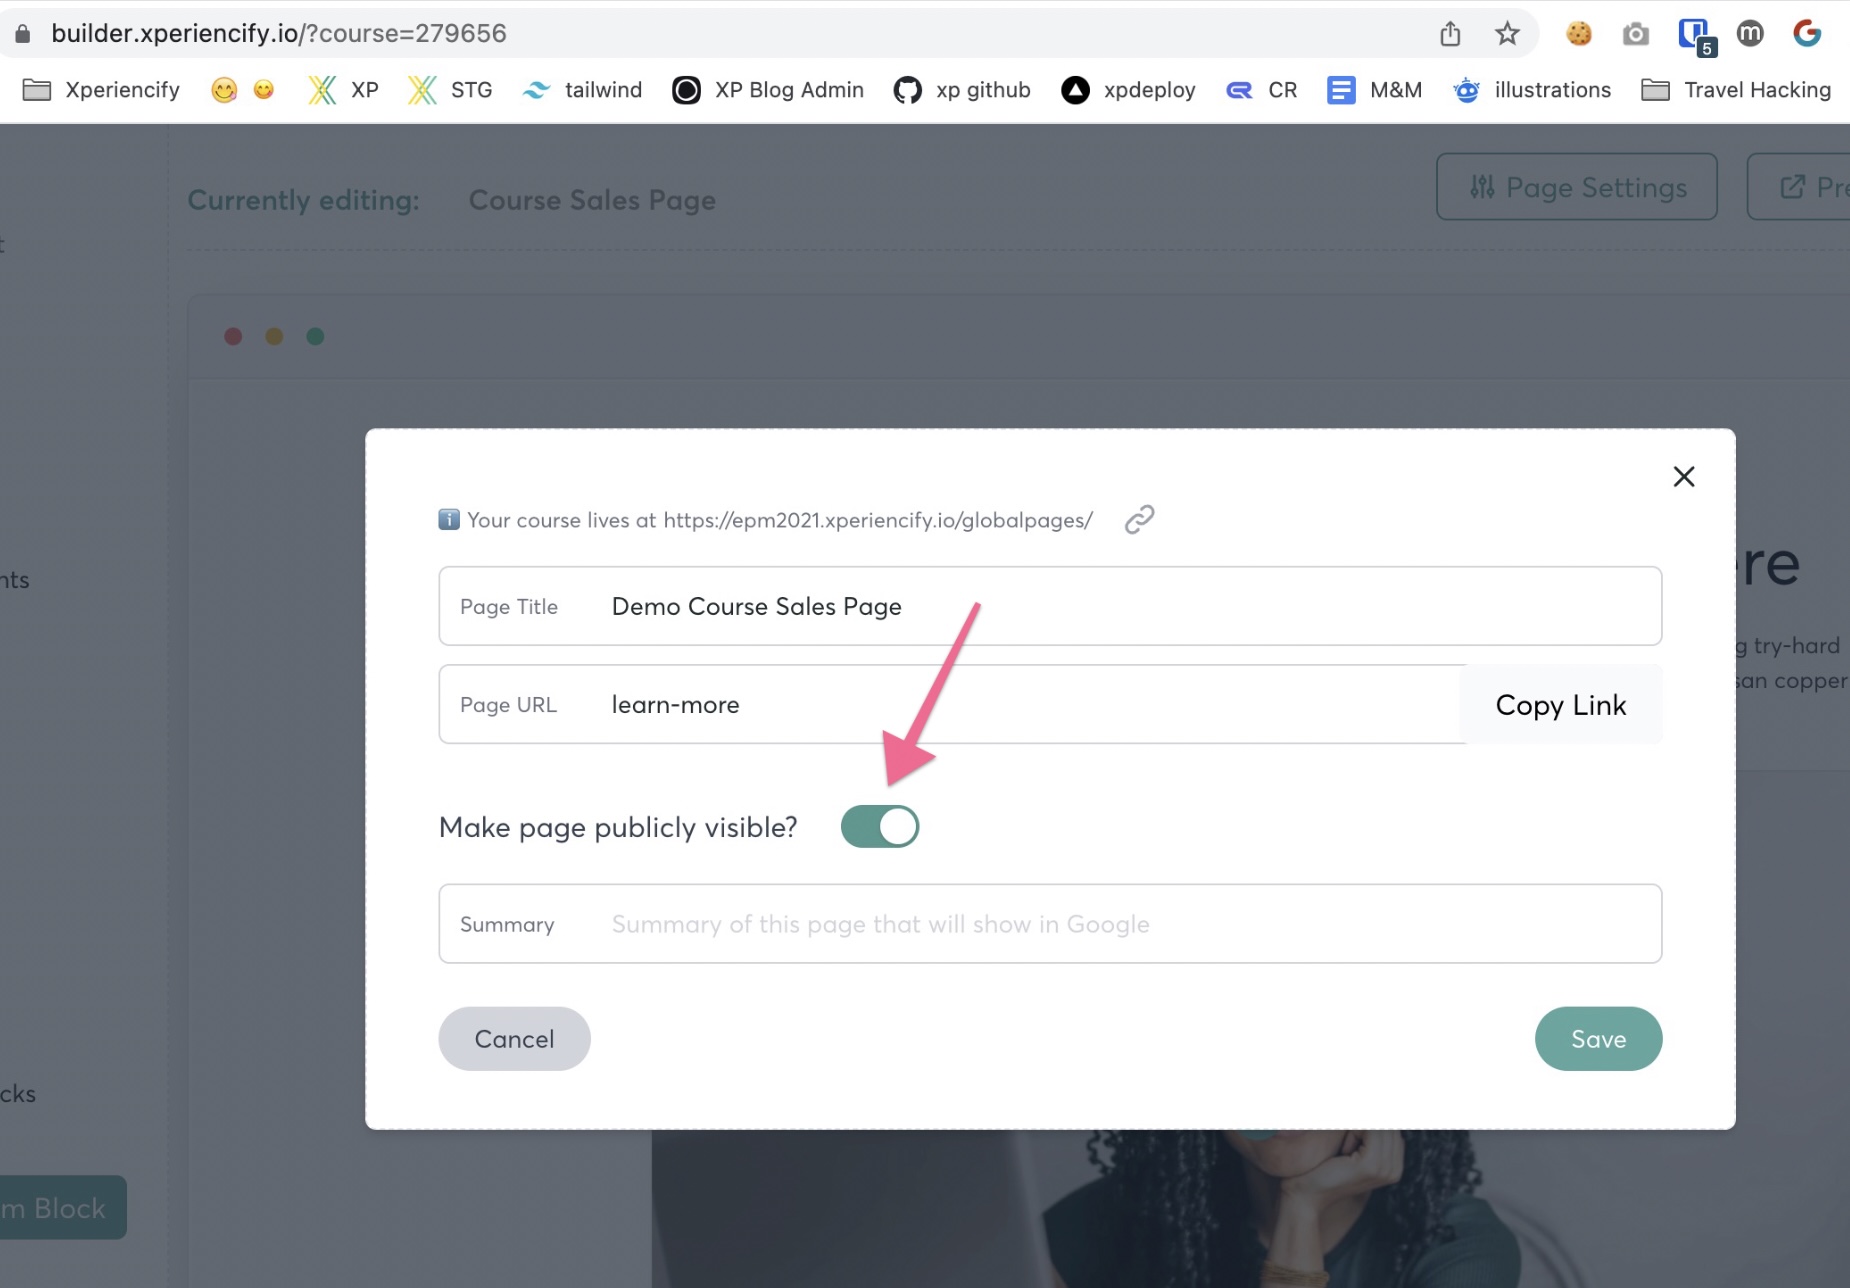
Access this by clicking the Page Settings button at the top of the custom page you're editing.
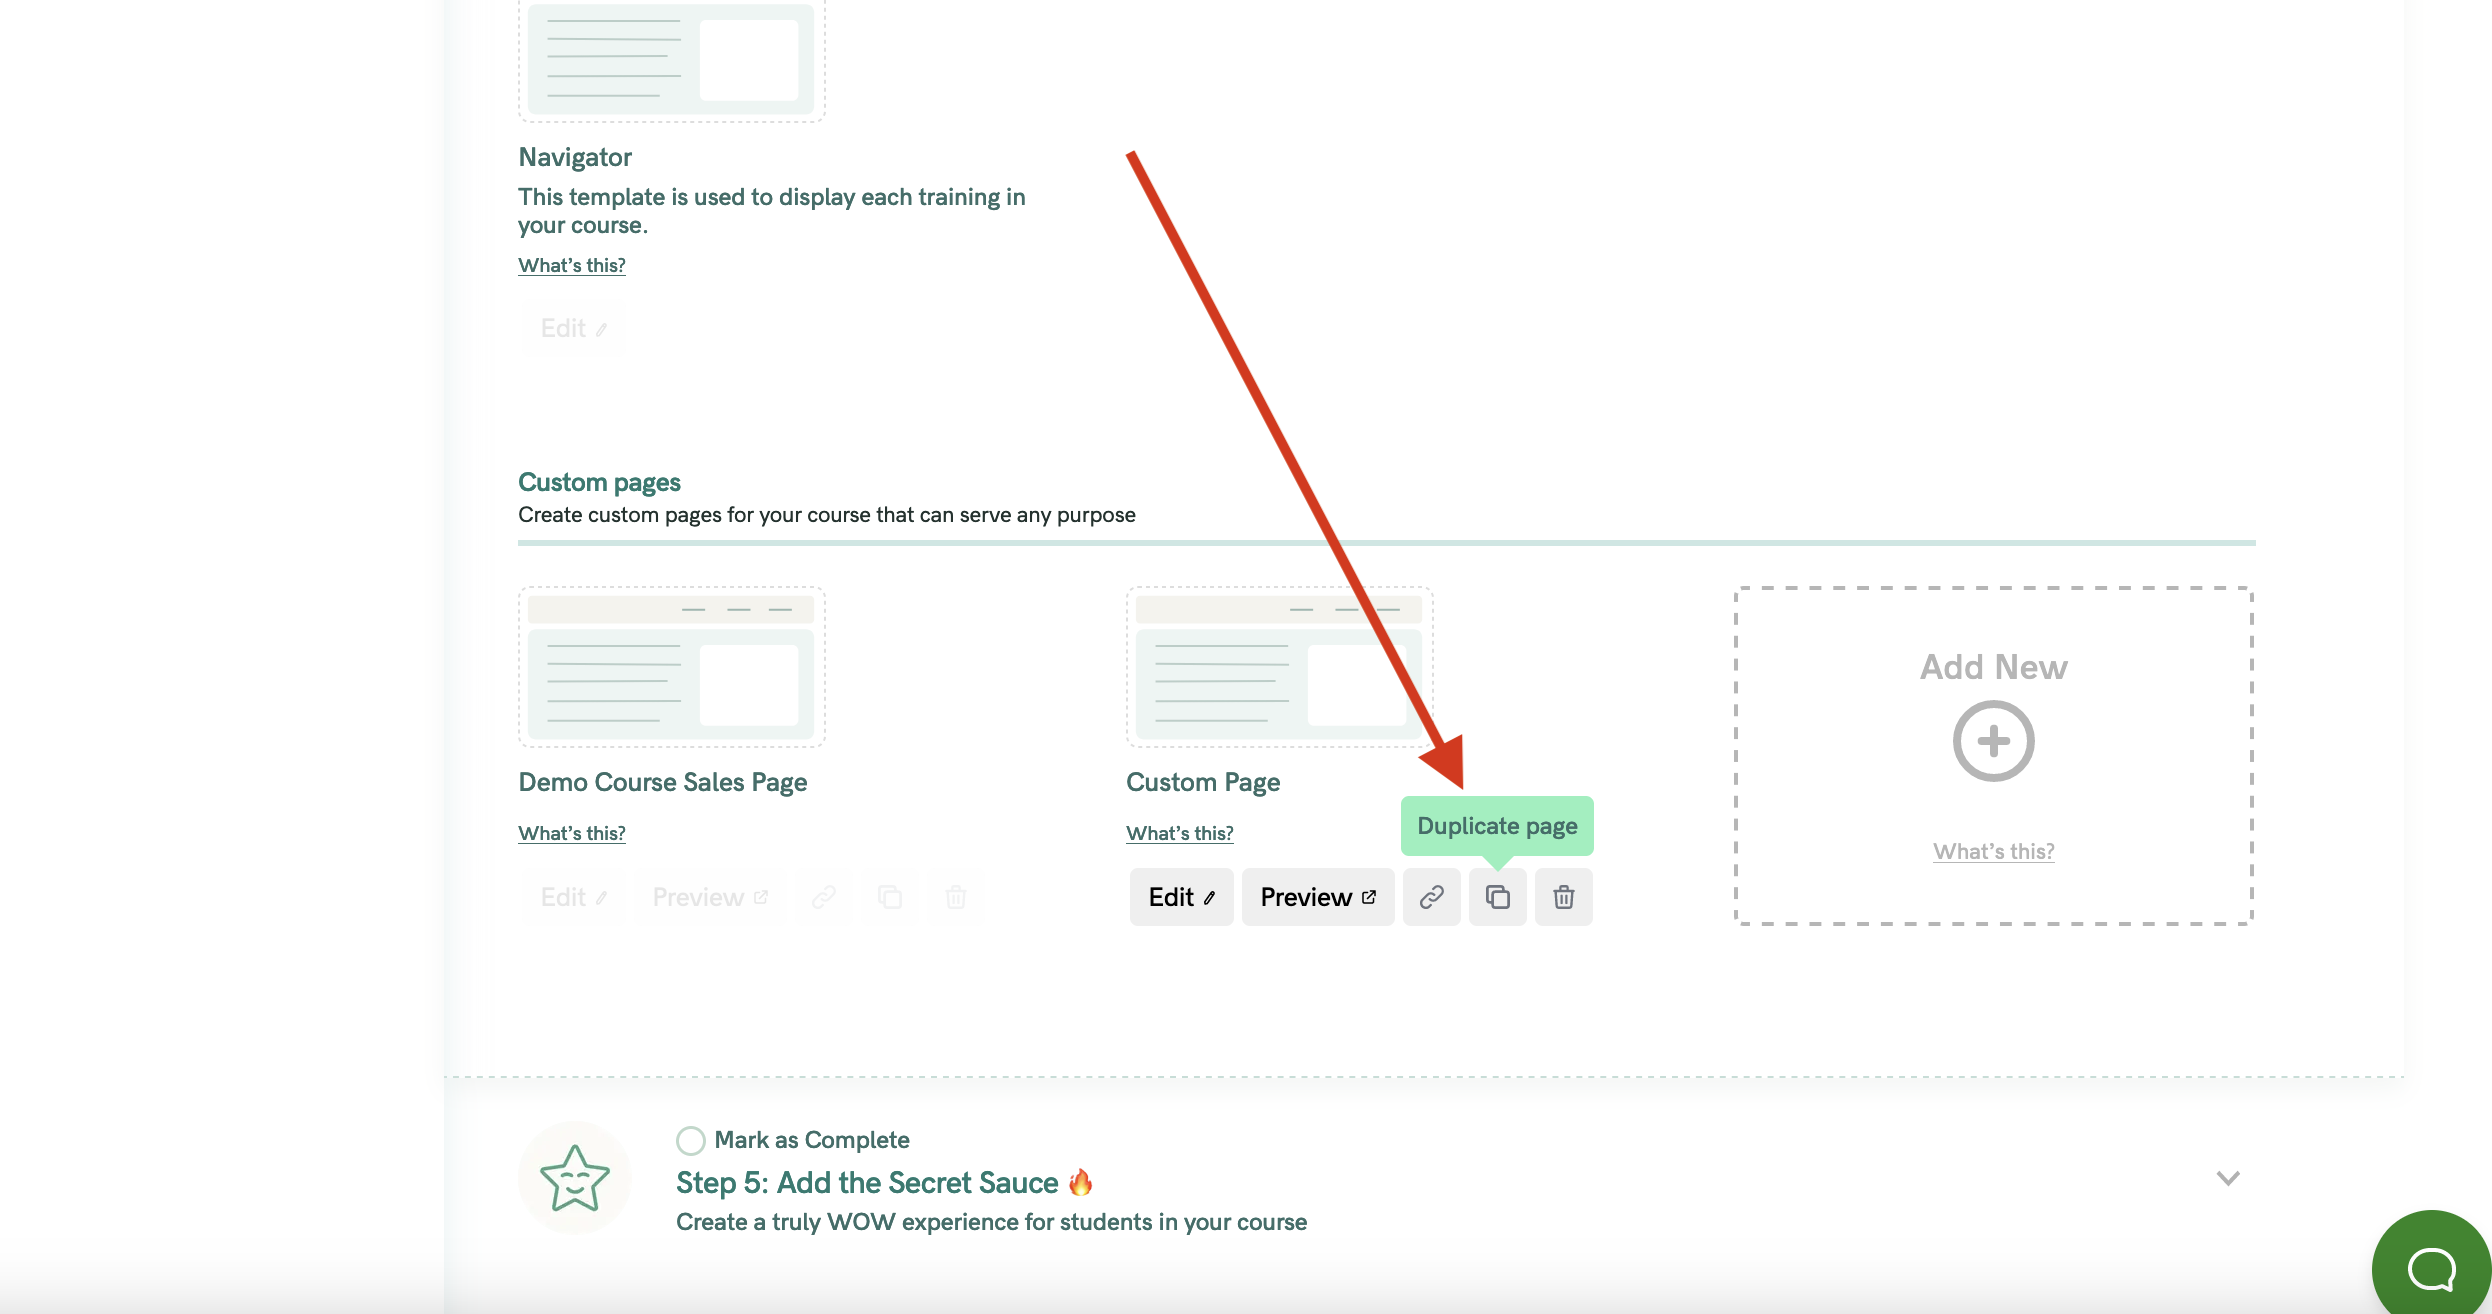
How to Duplicate a Custom Page
To duplicate a custom page, click on the duplicate icon, here:
How to Delete a Custom Page
To Delete a Custom Page, click on this icon here:
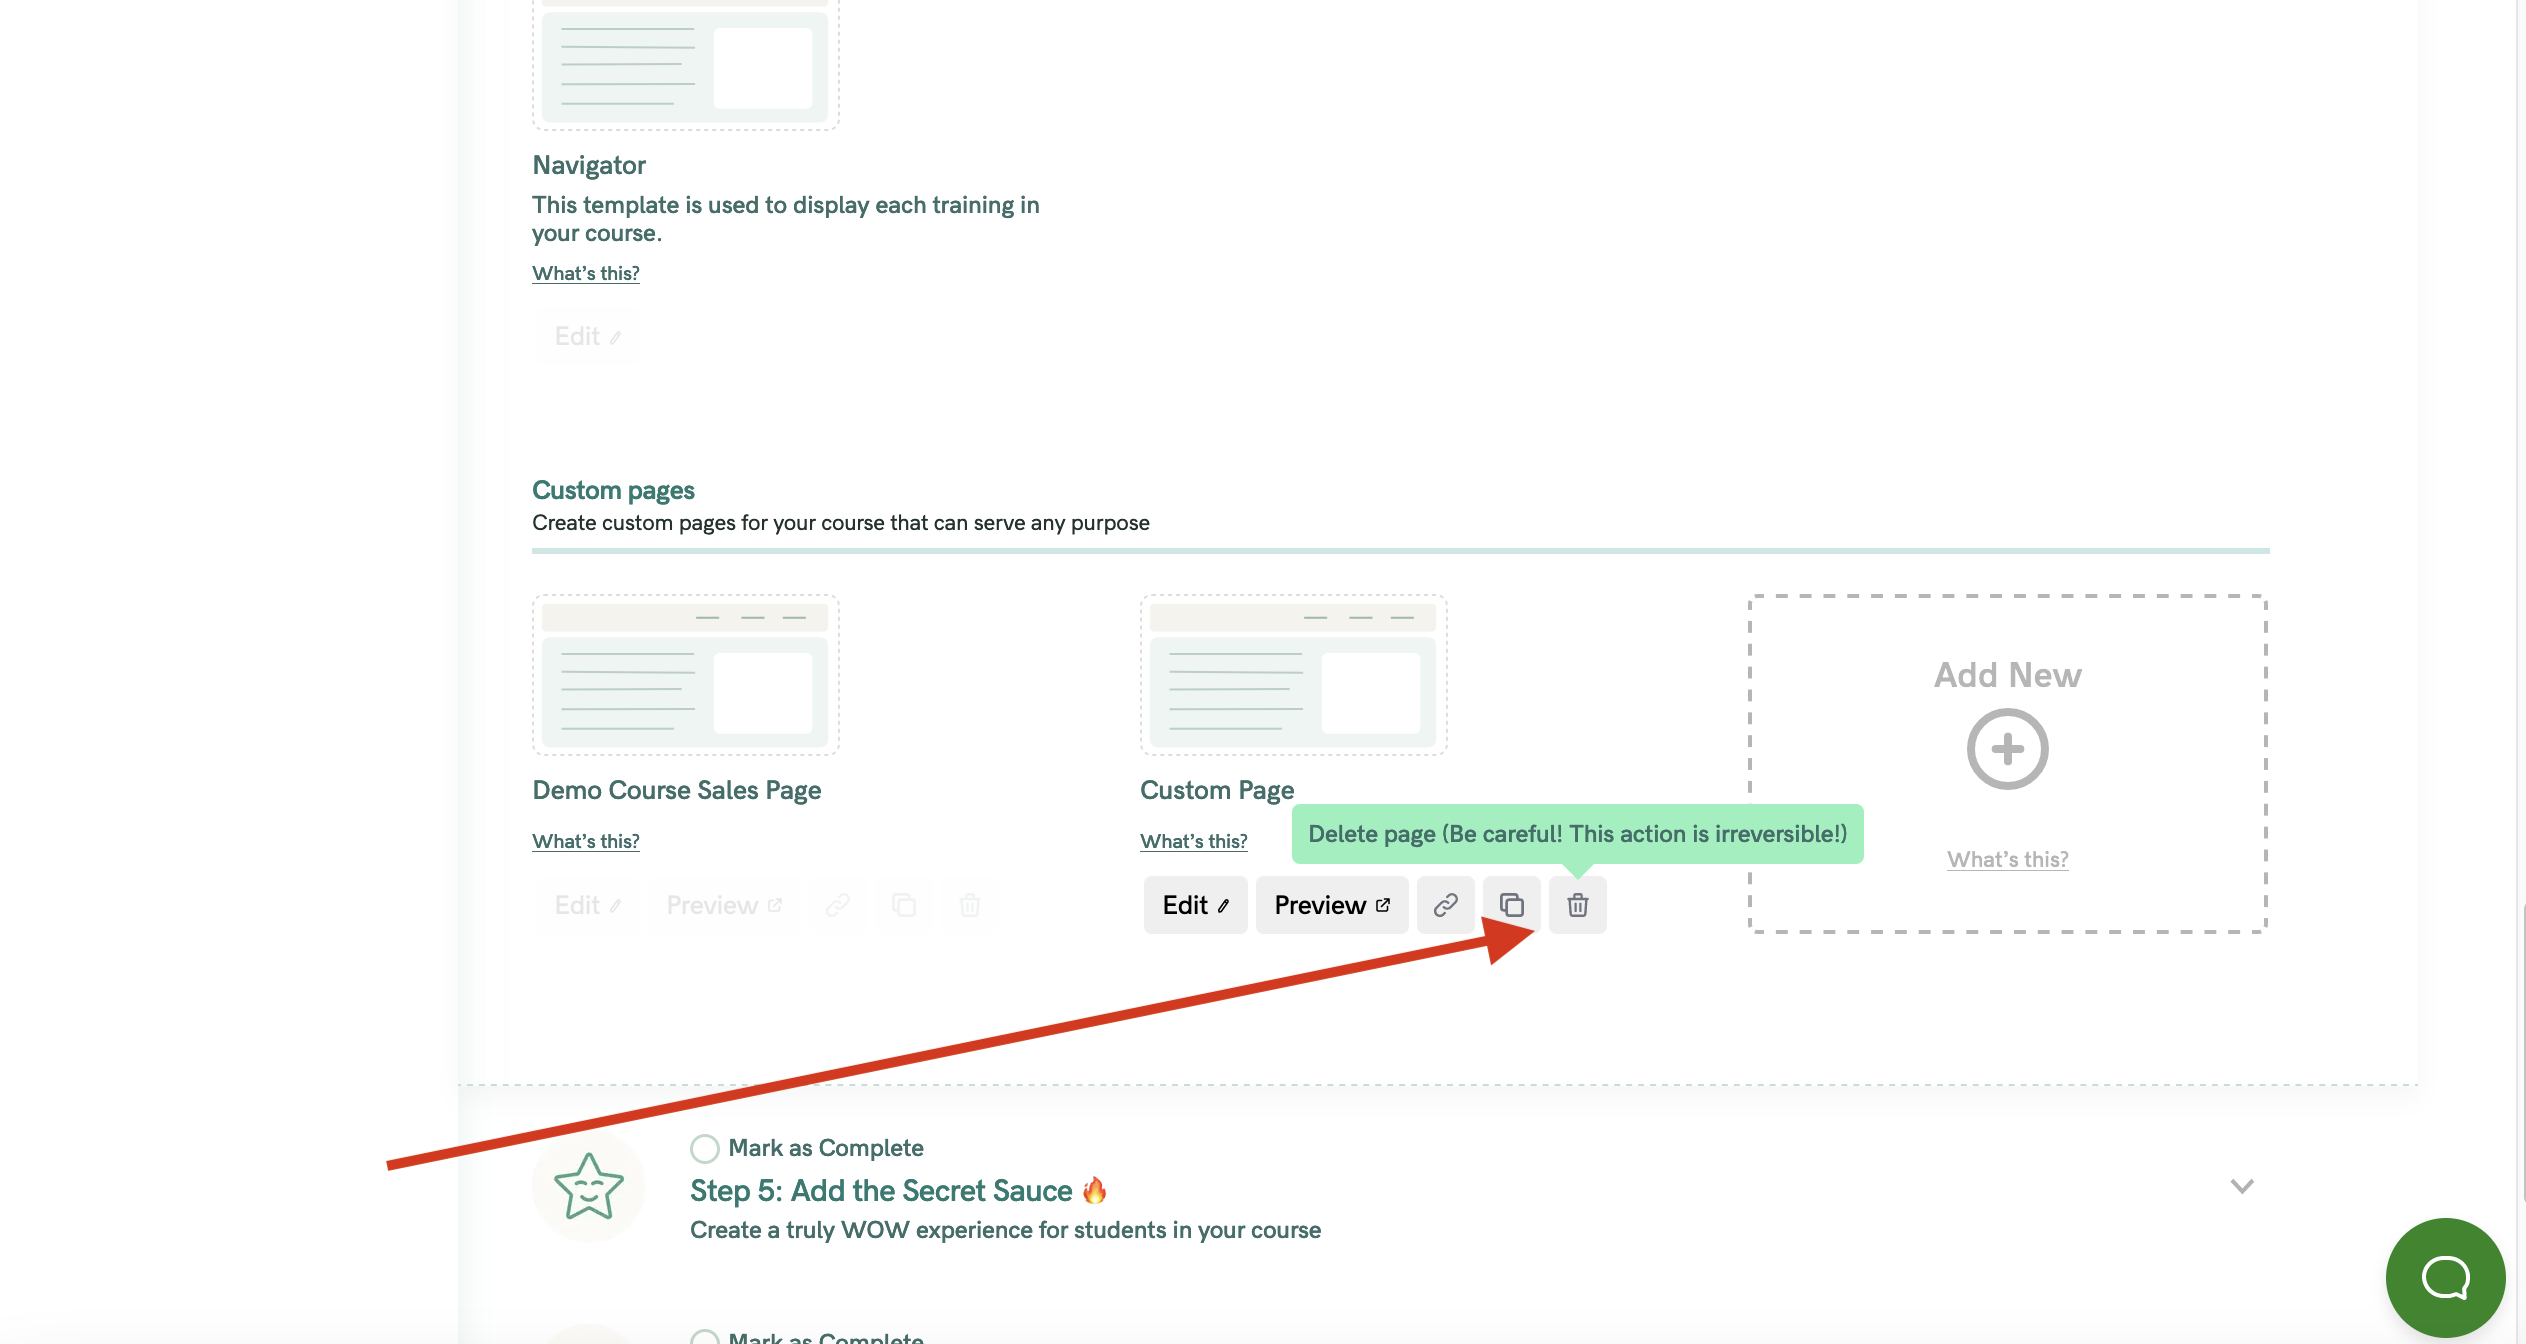
NOTE: Deleting a Custom Page cannot be reversed